MAKING OF - SAILOR MOON
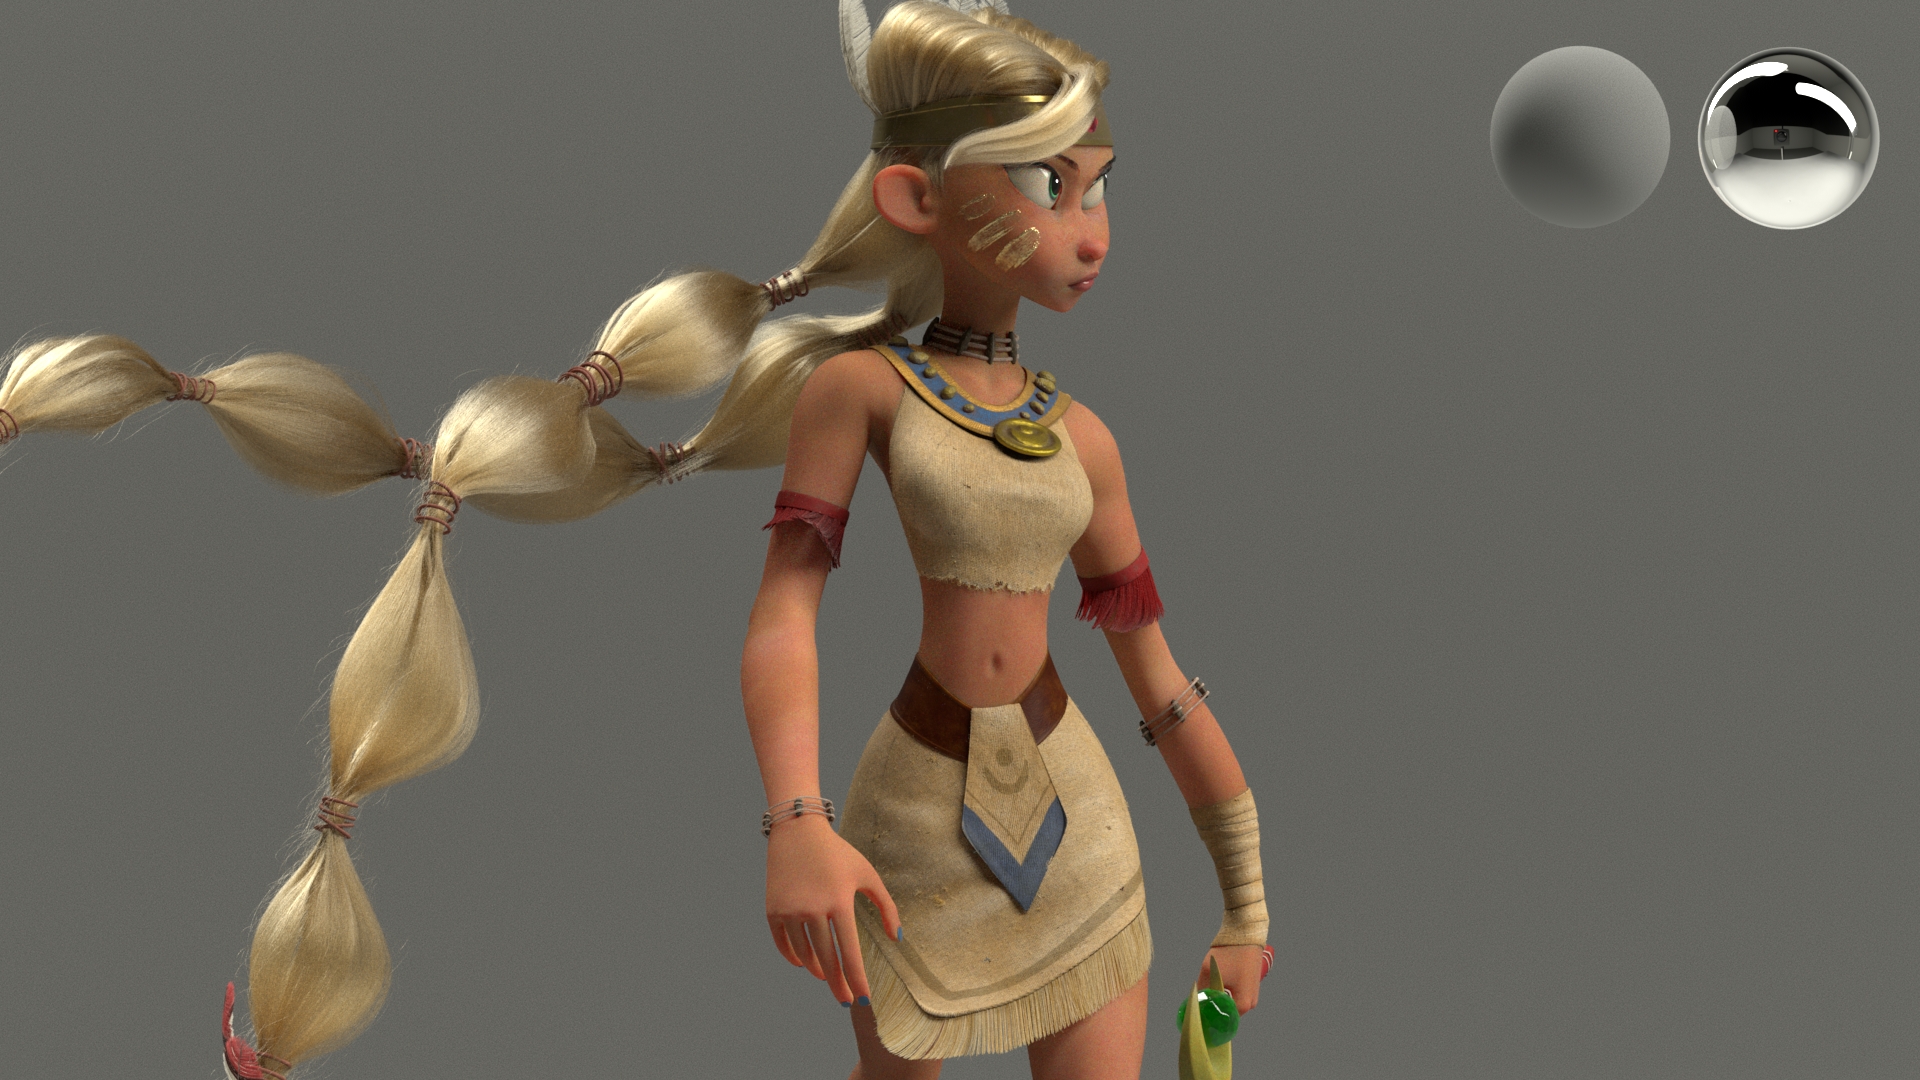
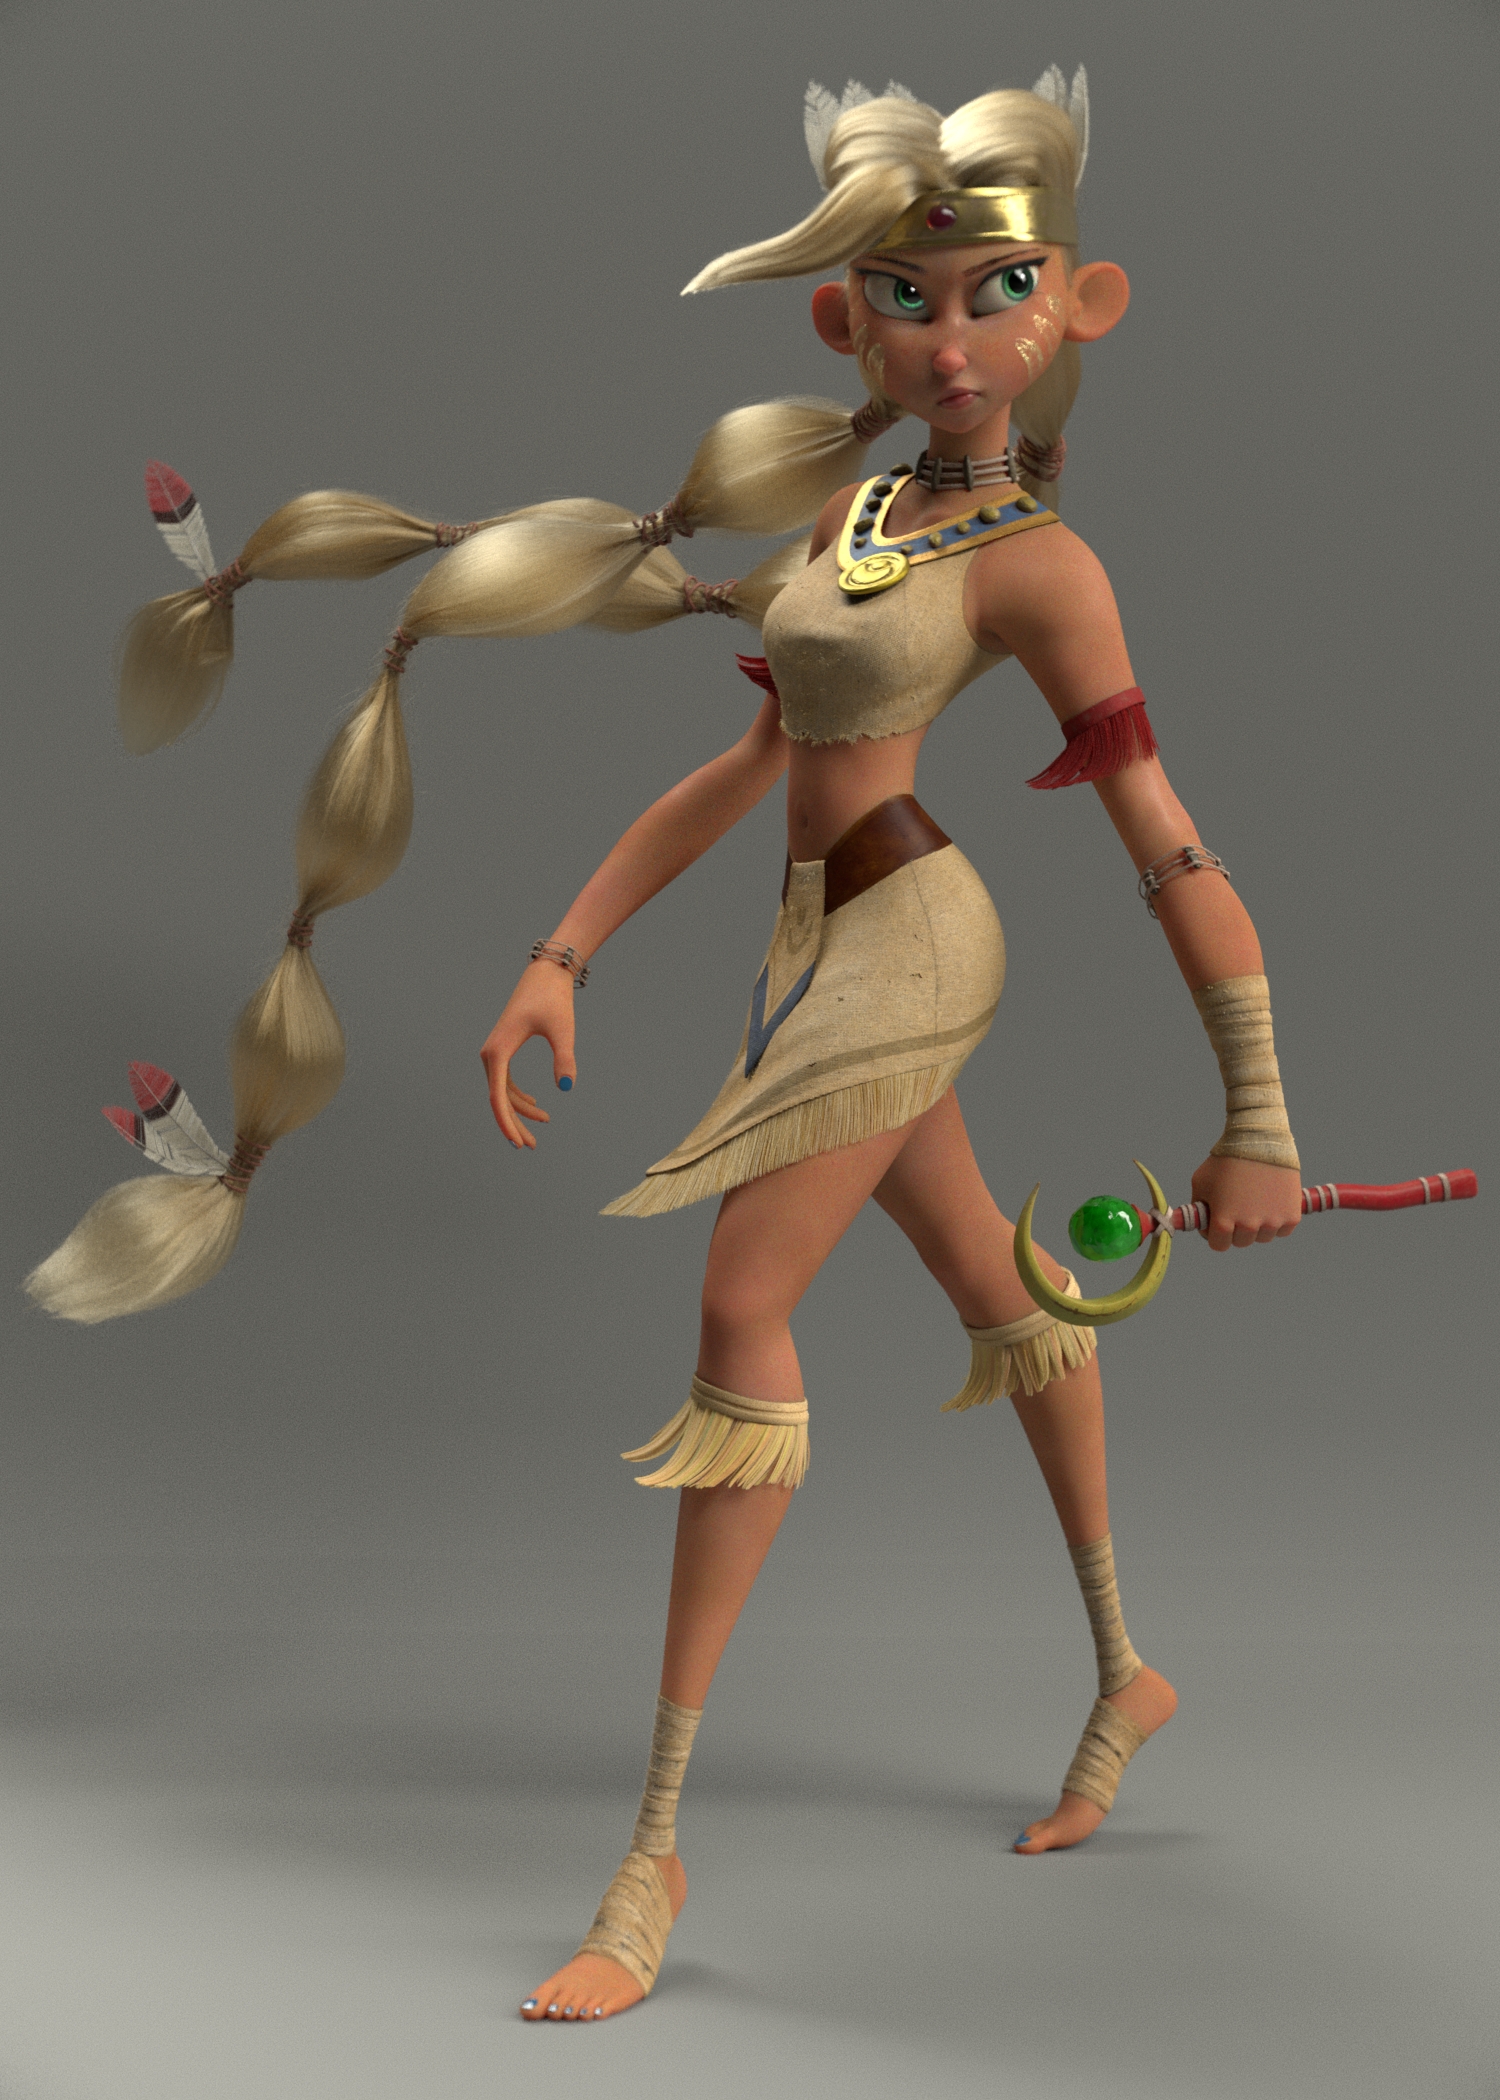
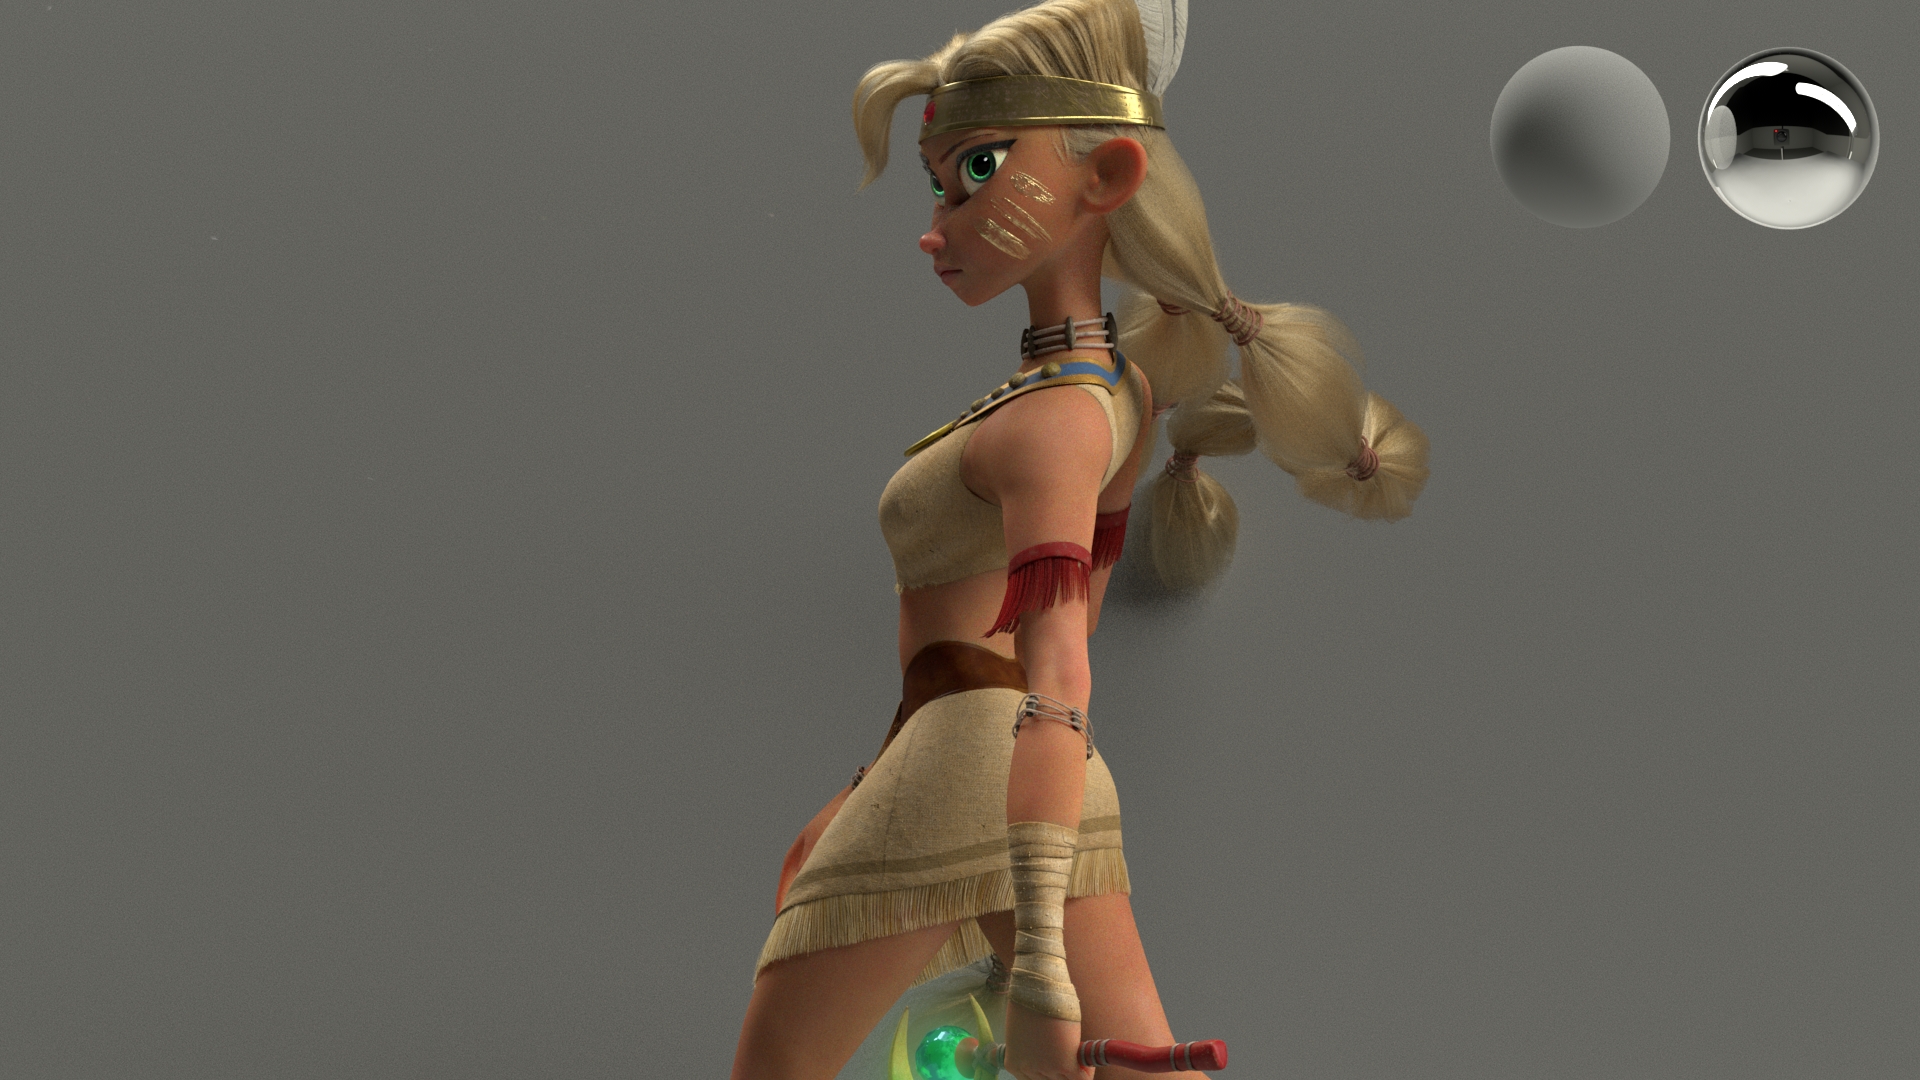
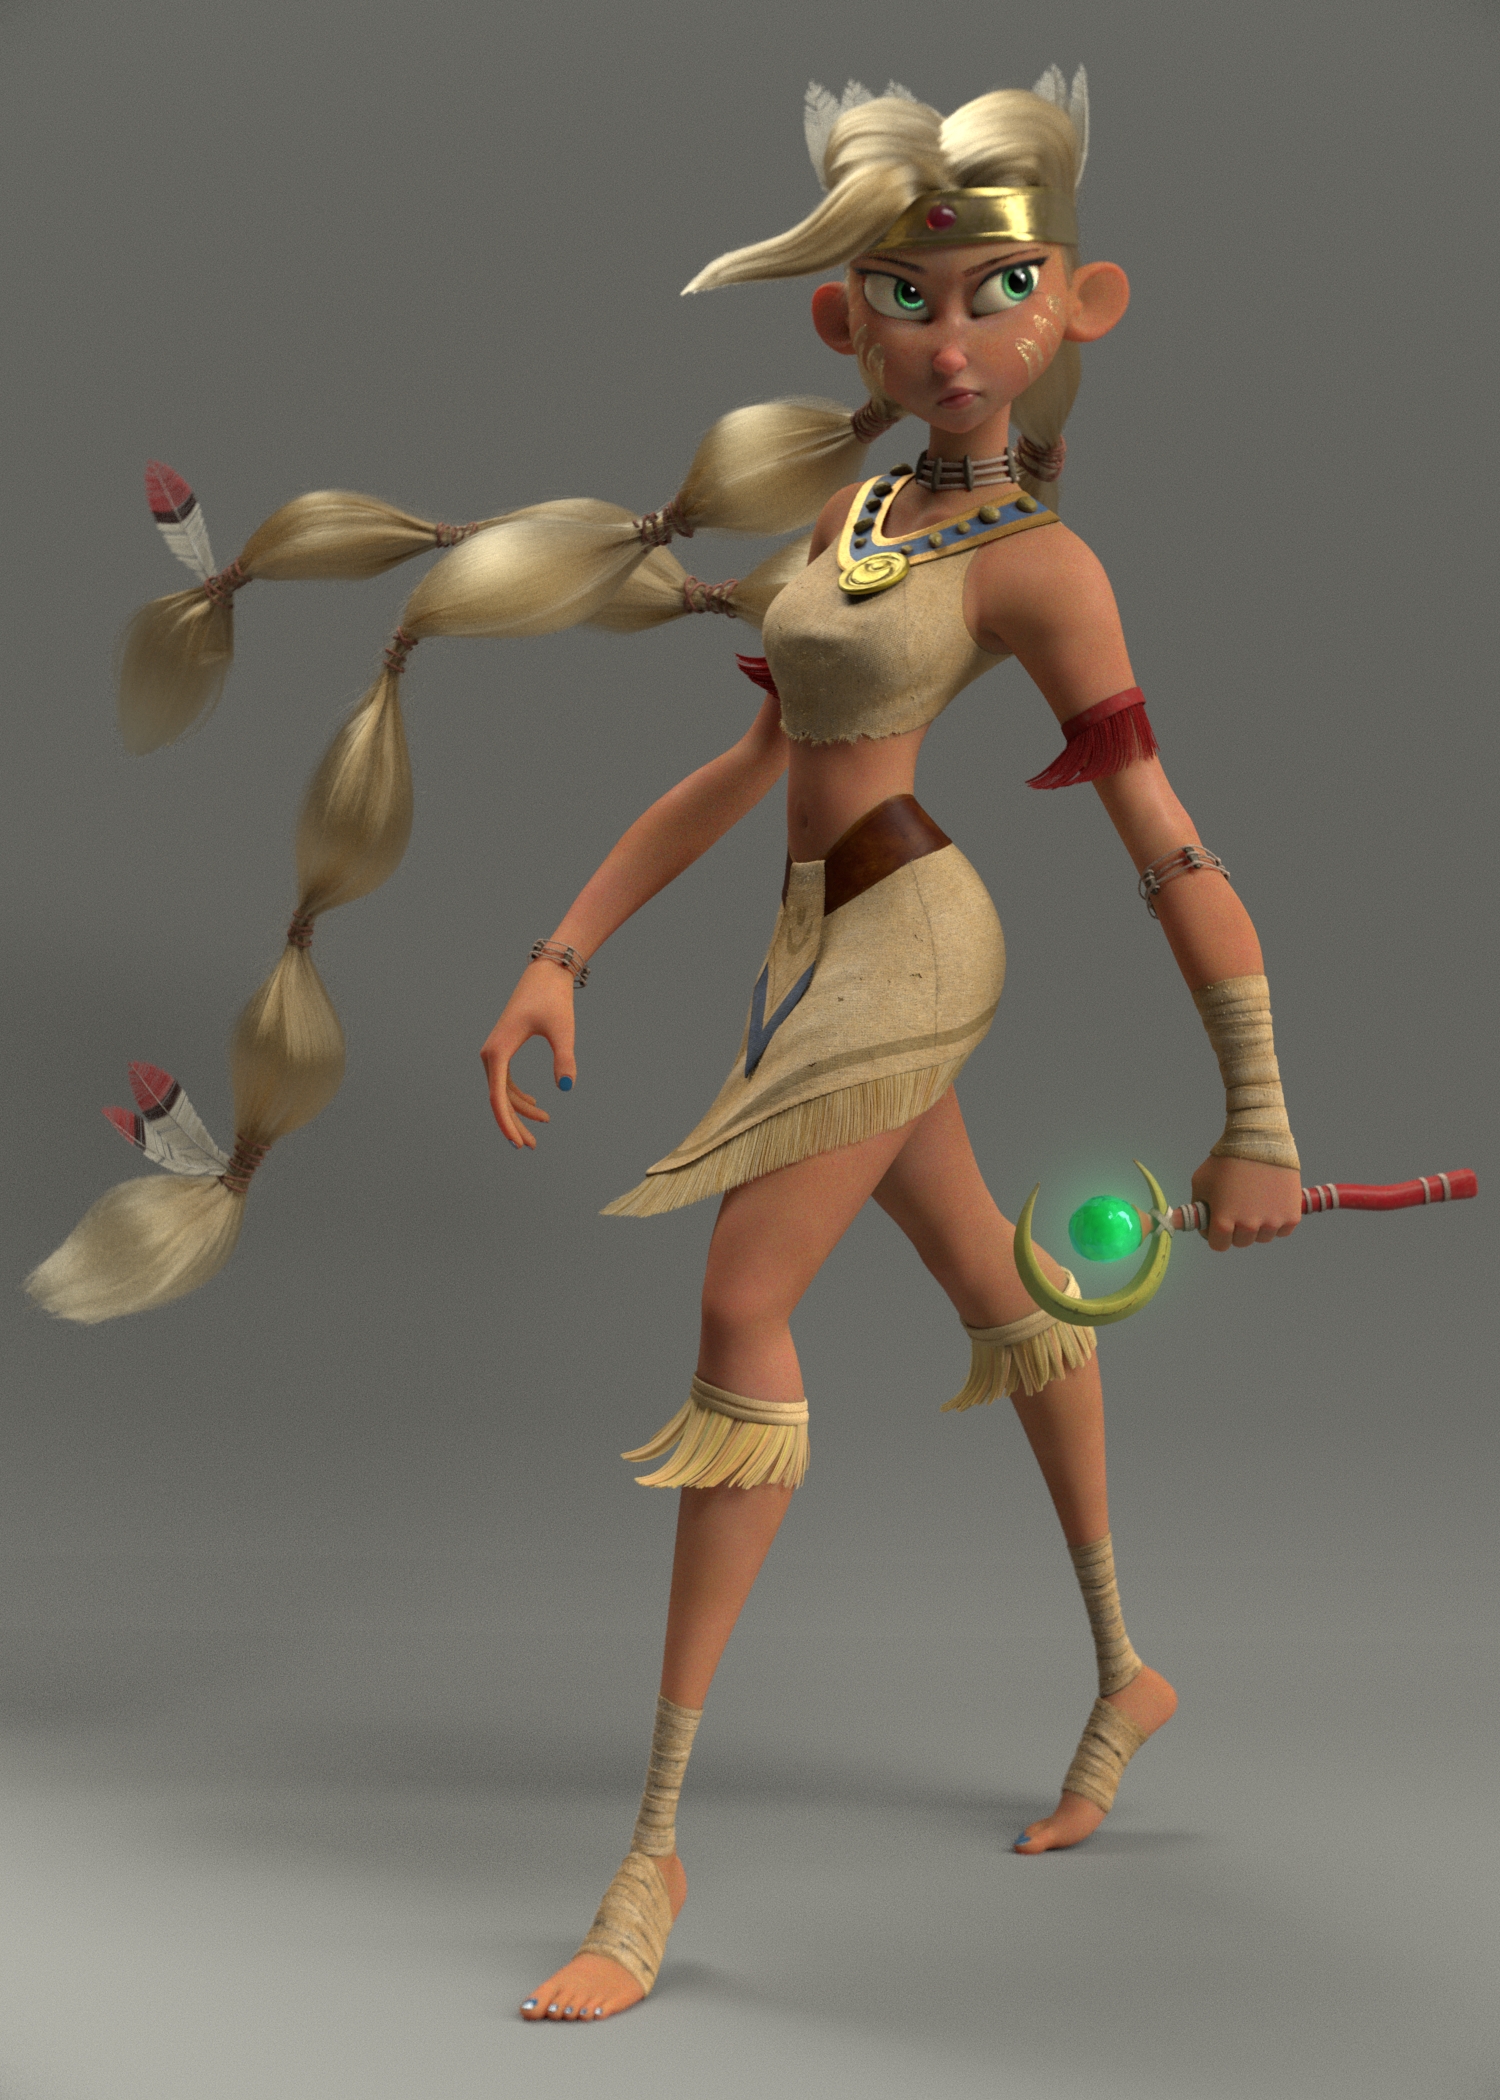
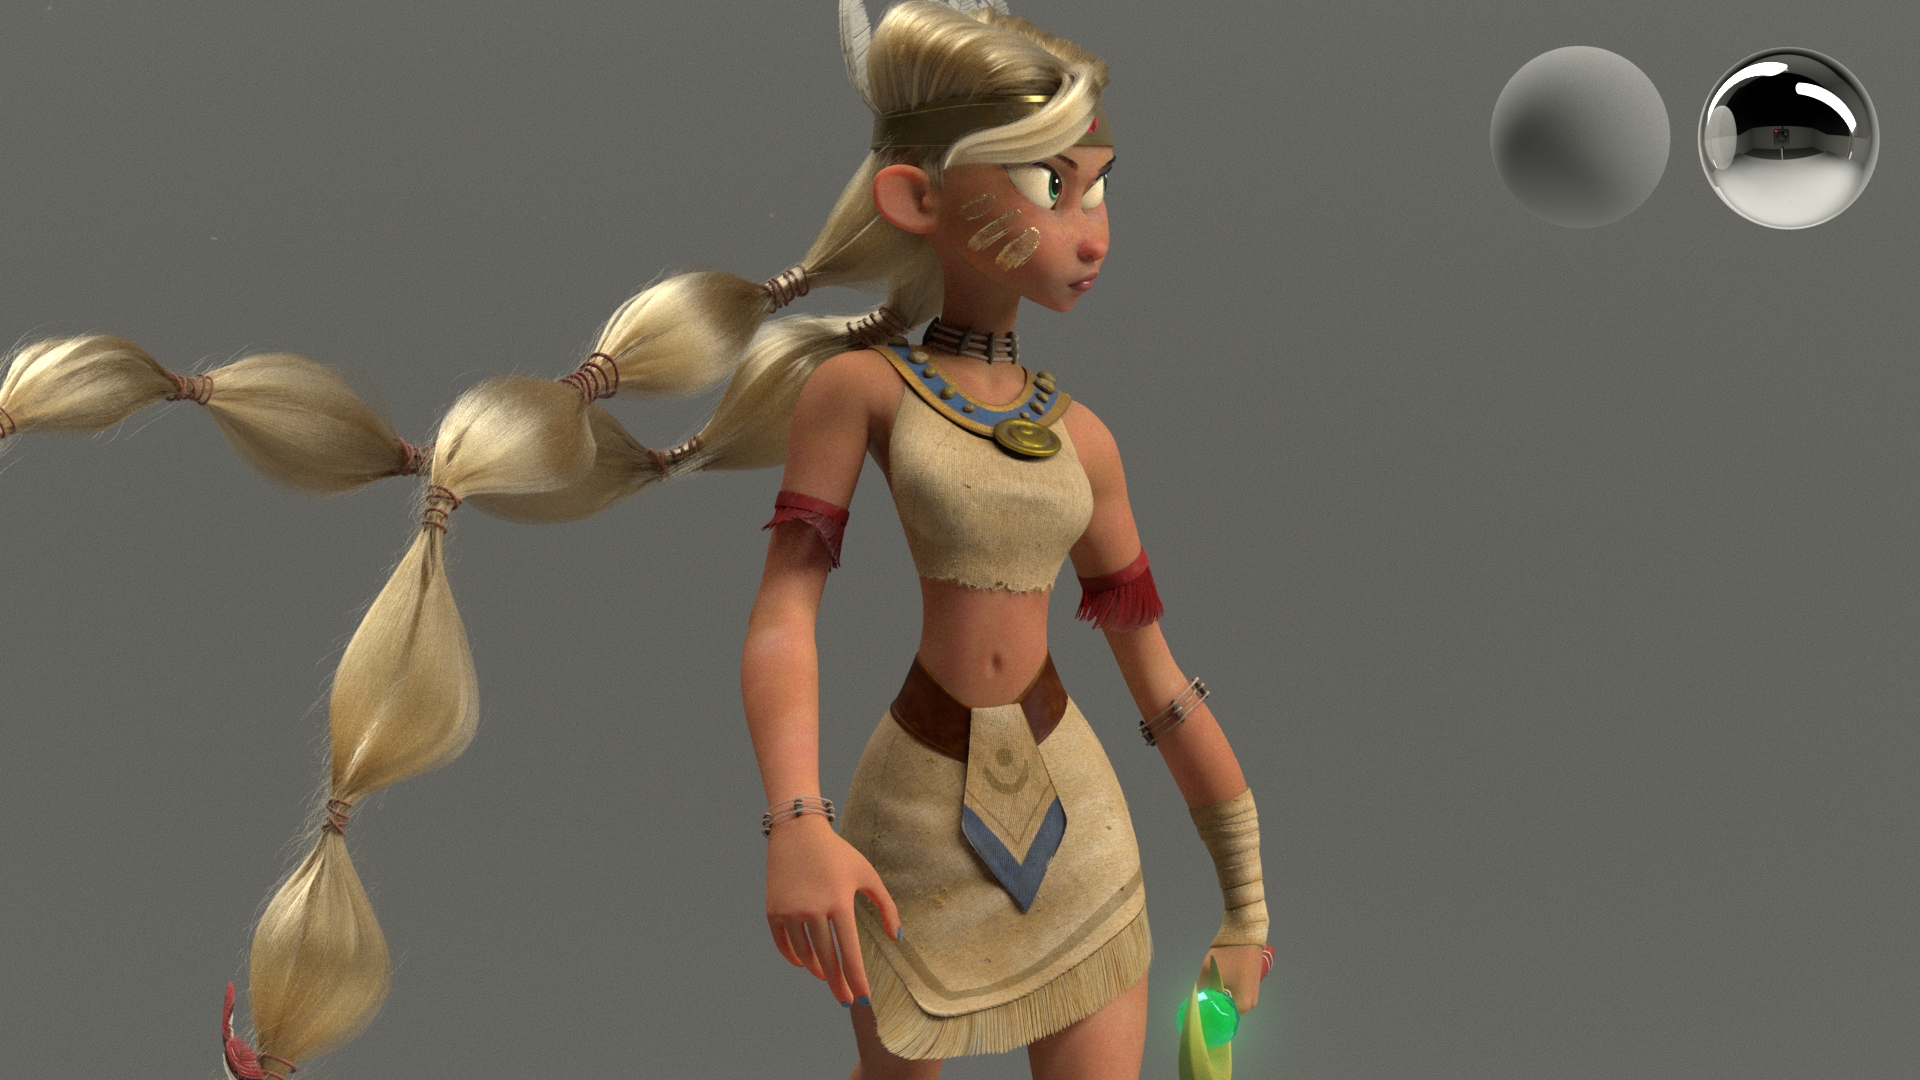
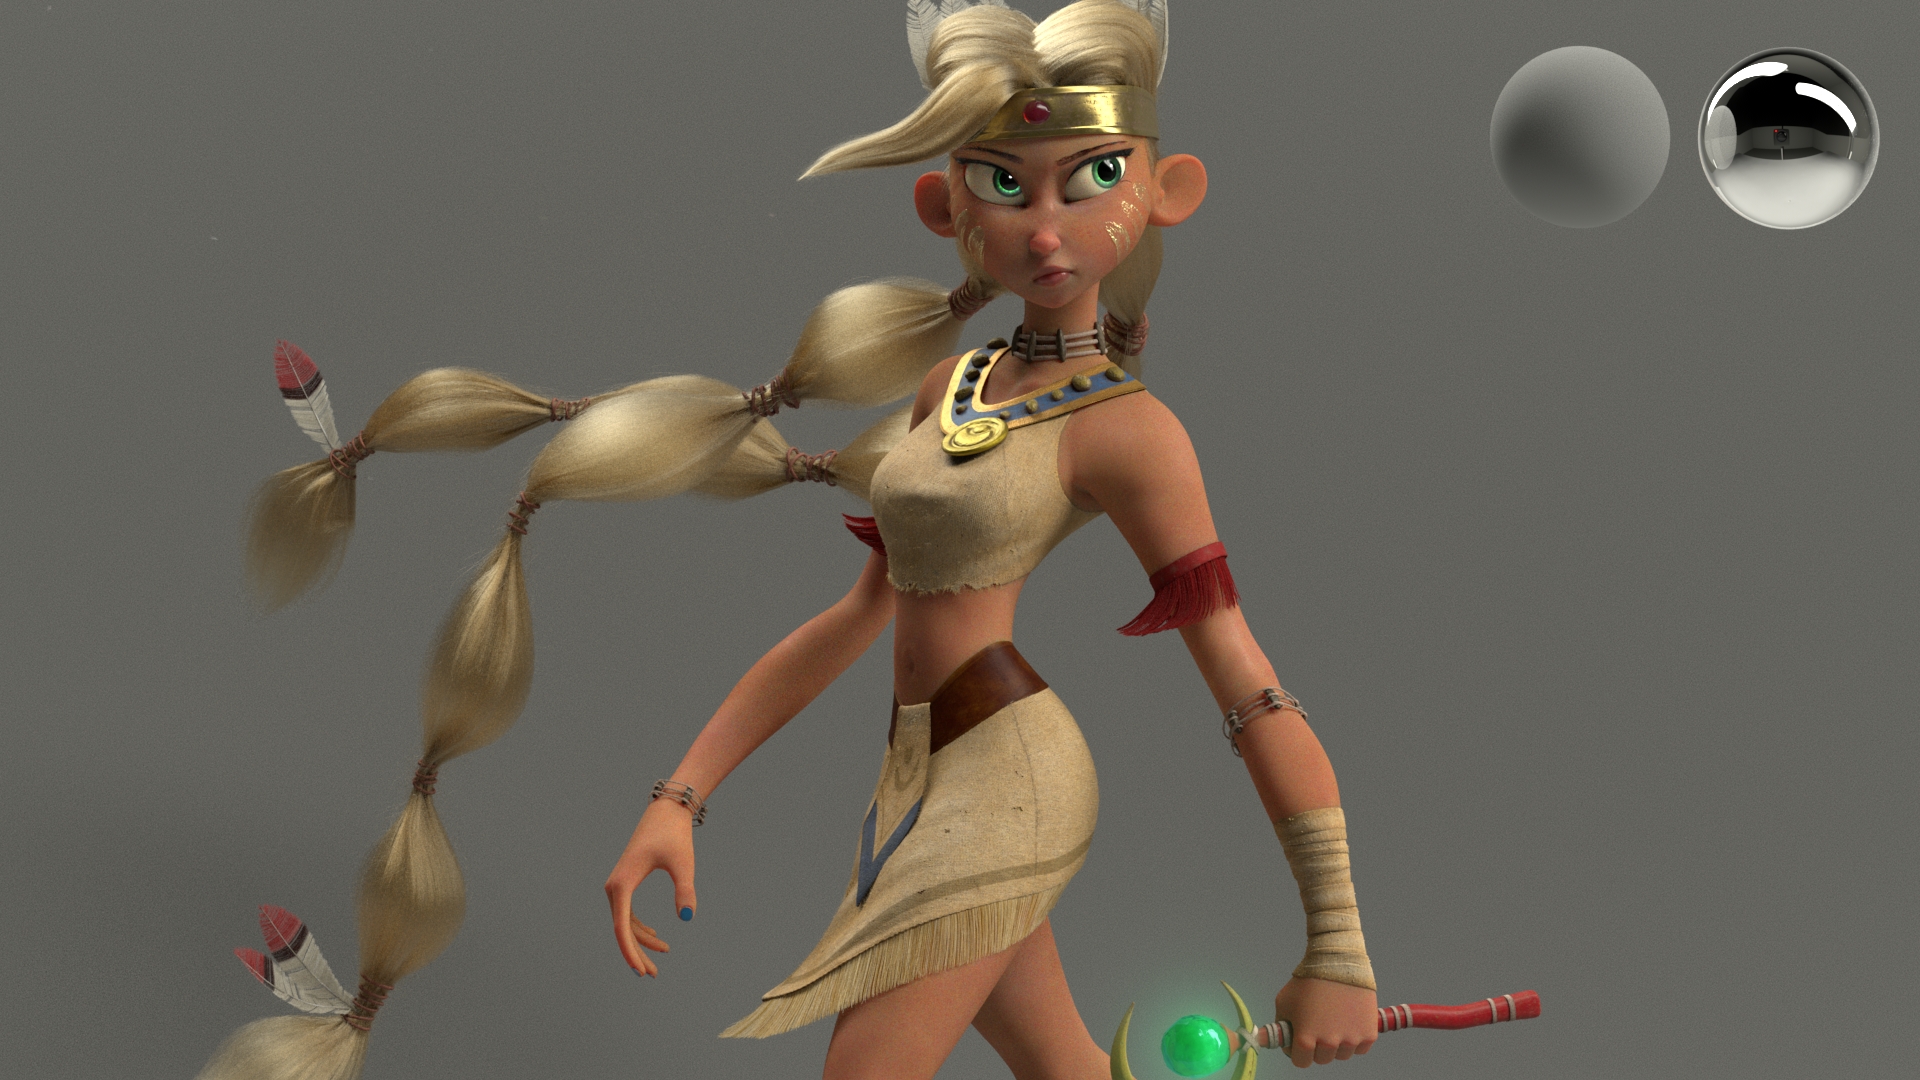
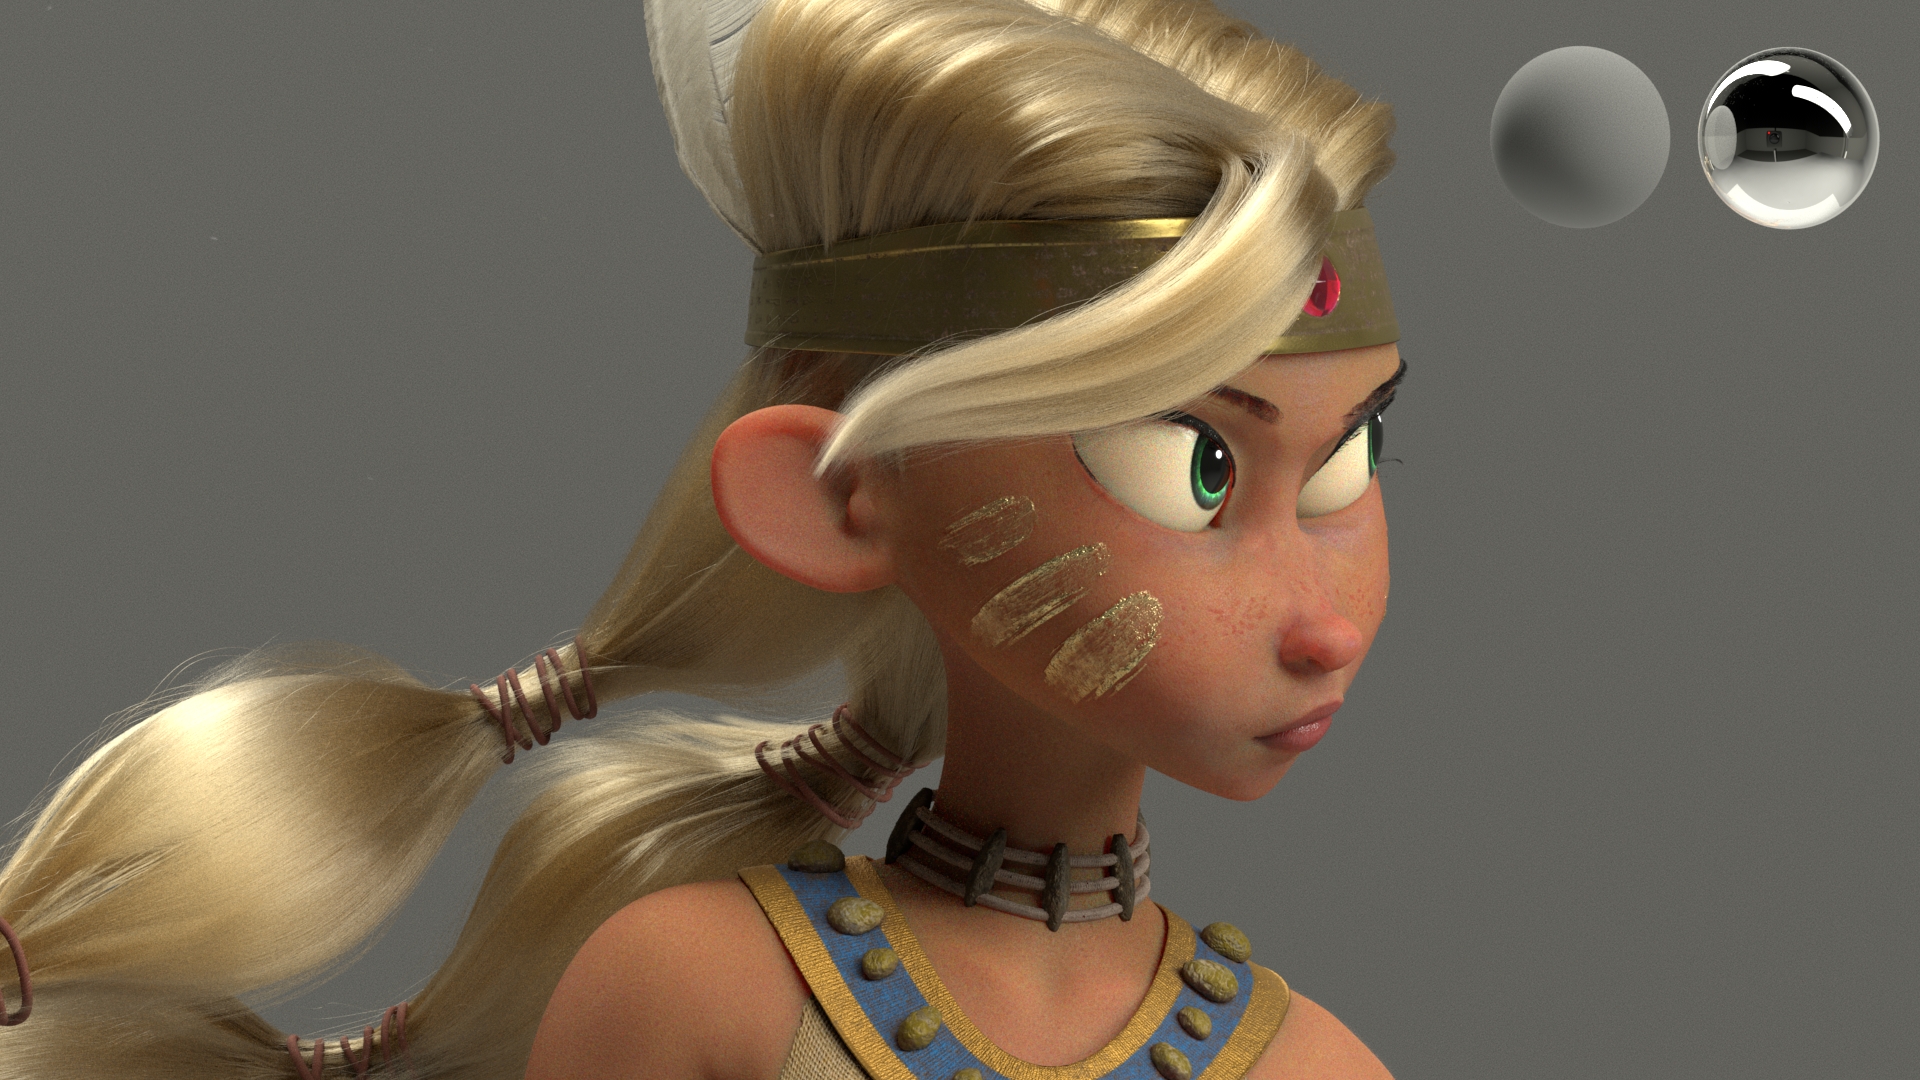
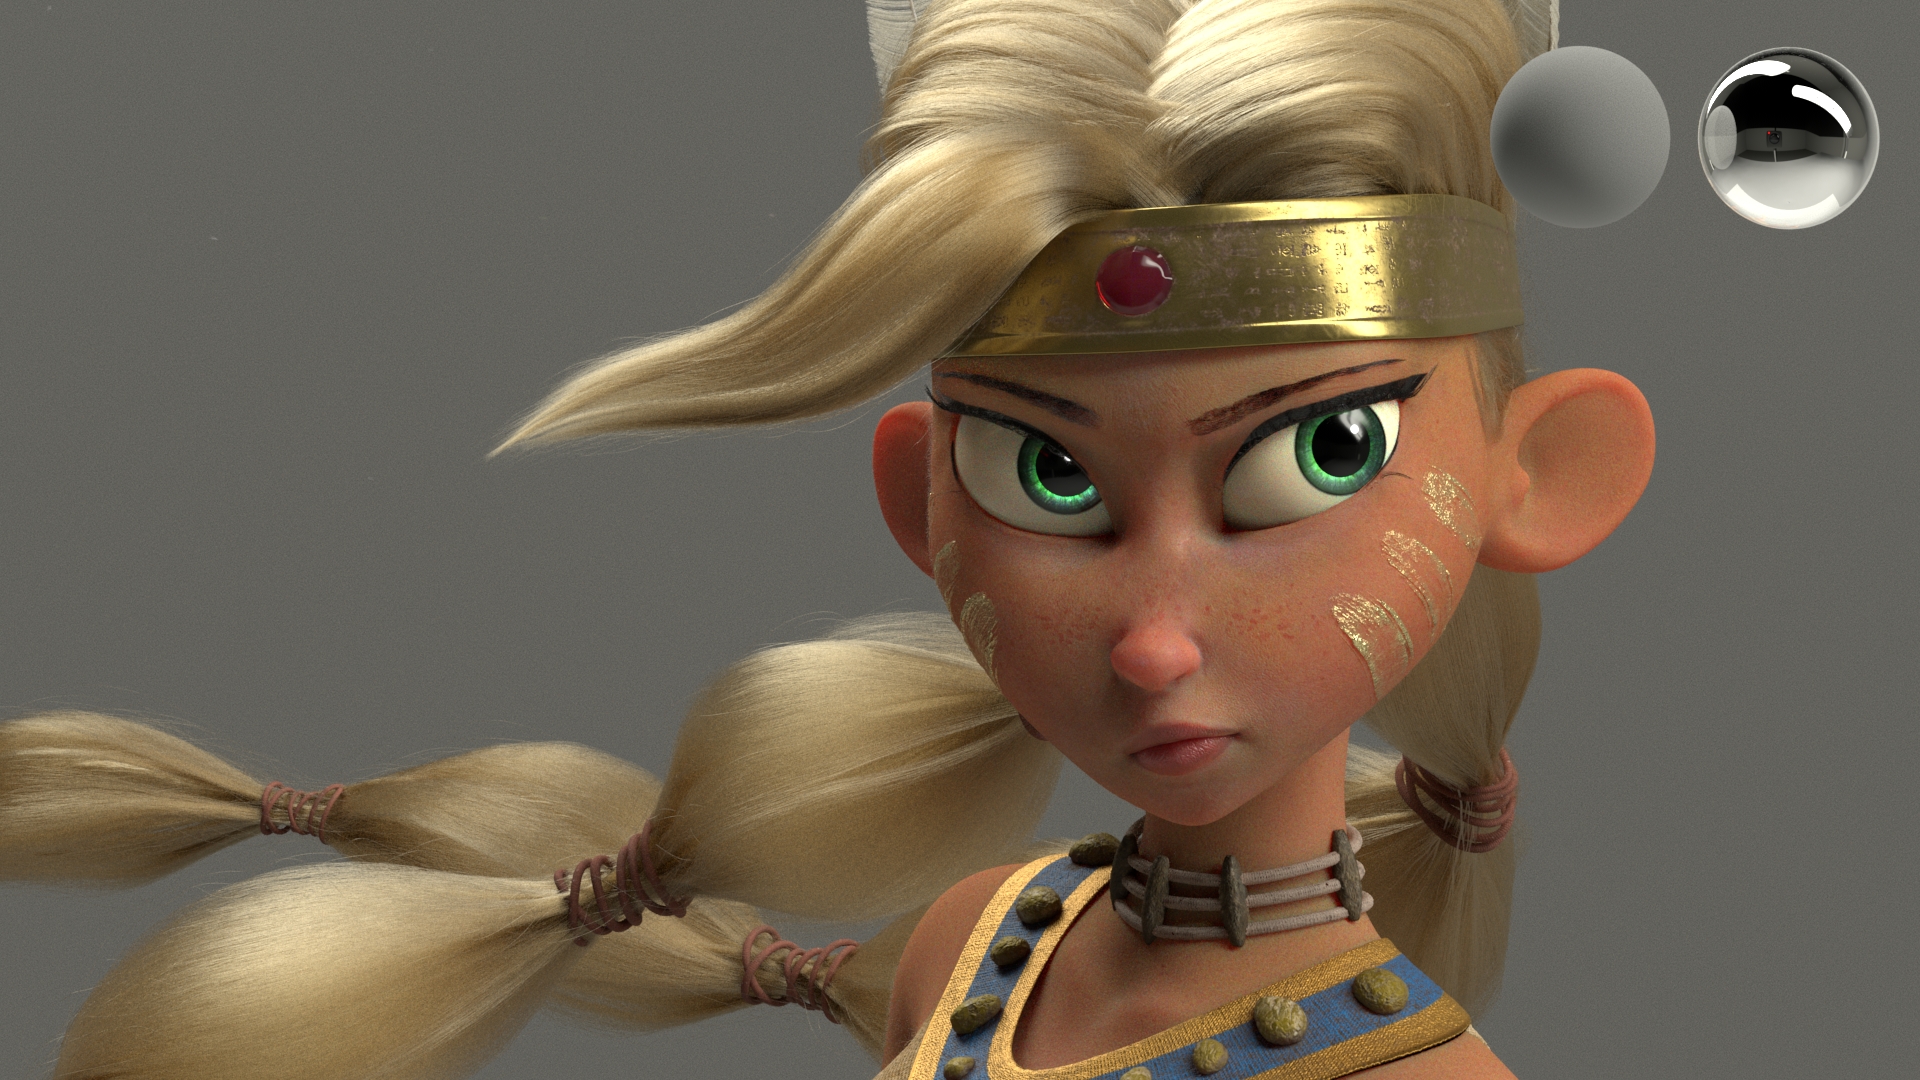
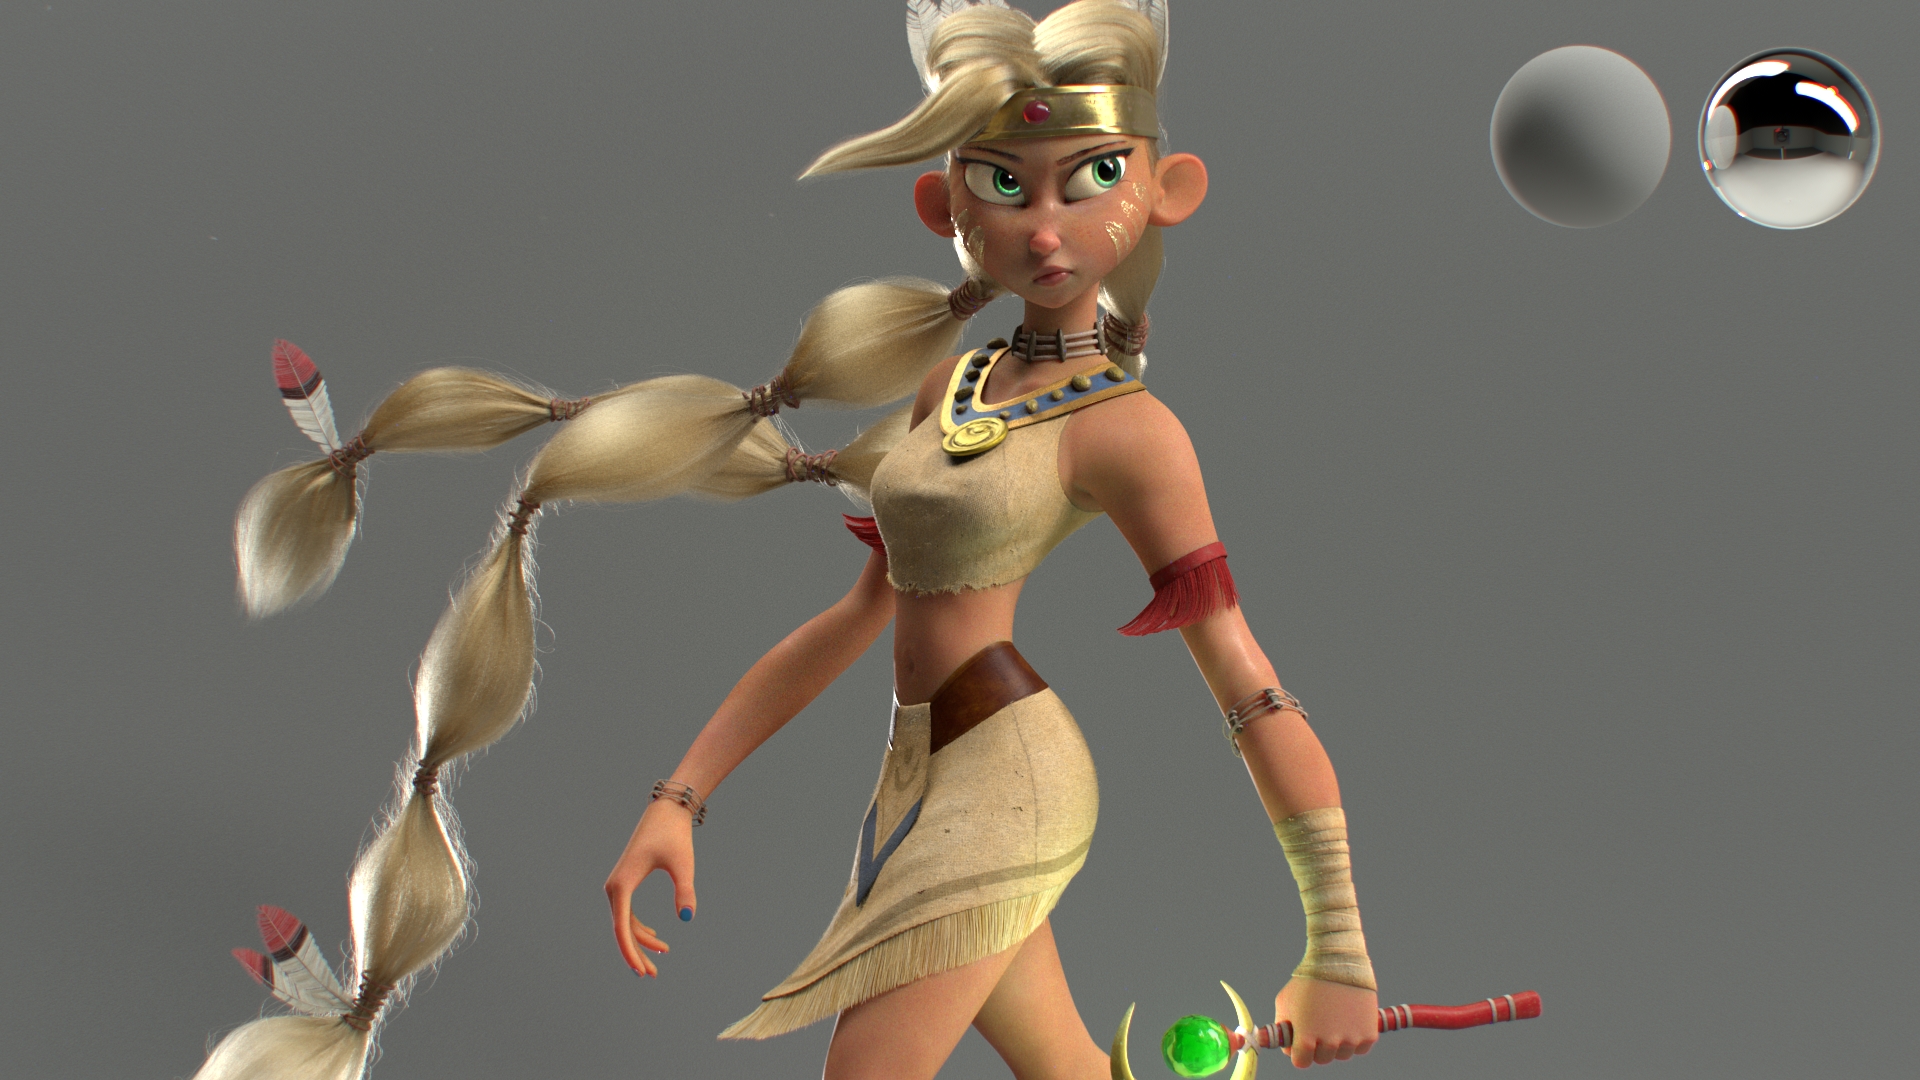
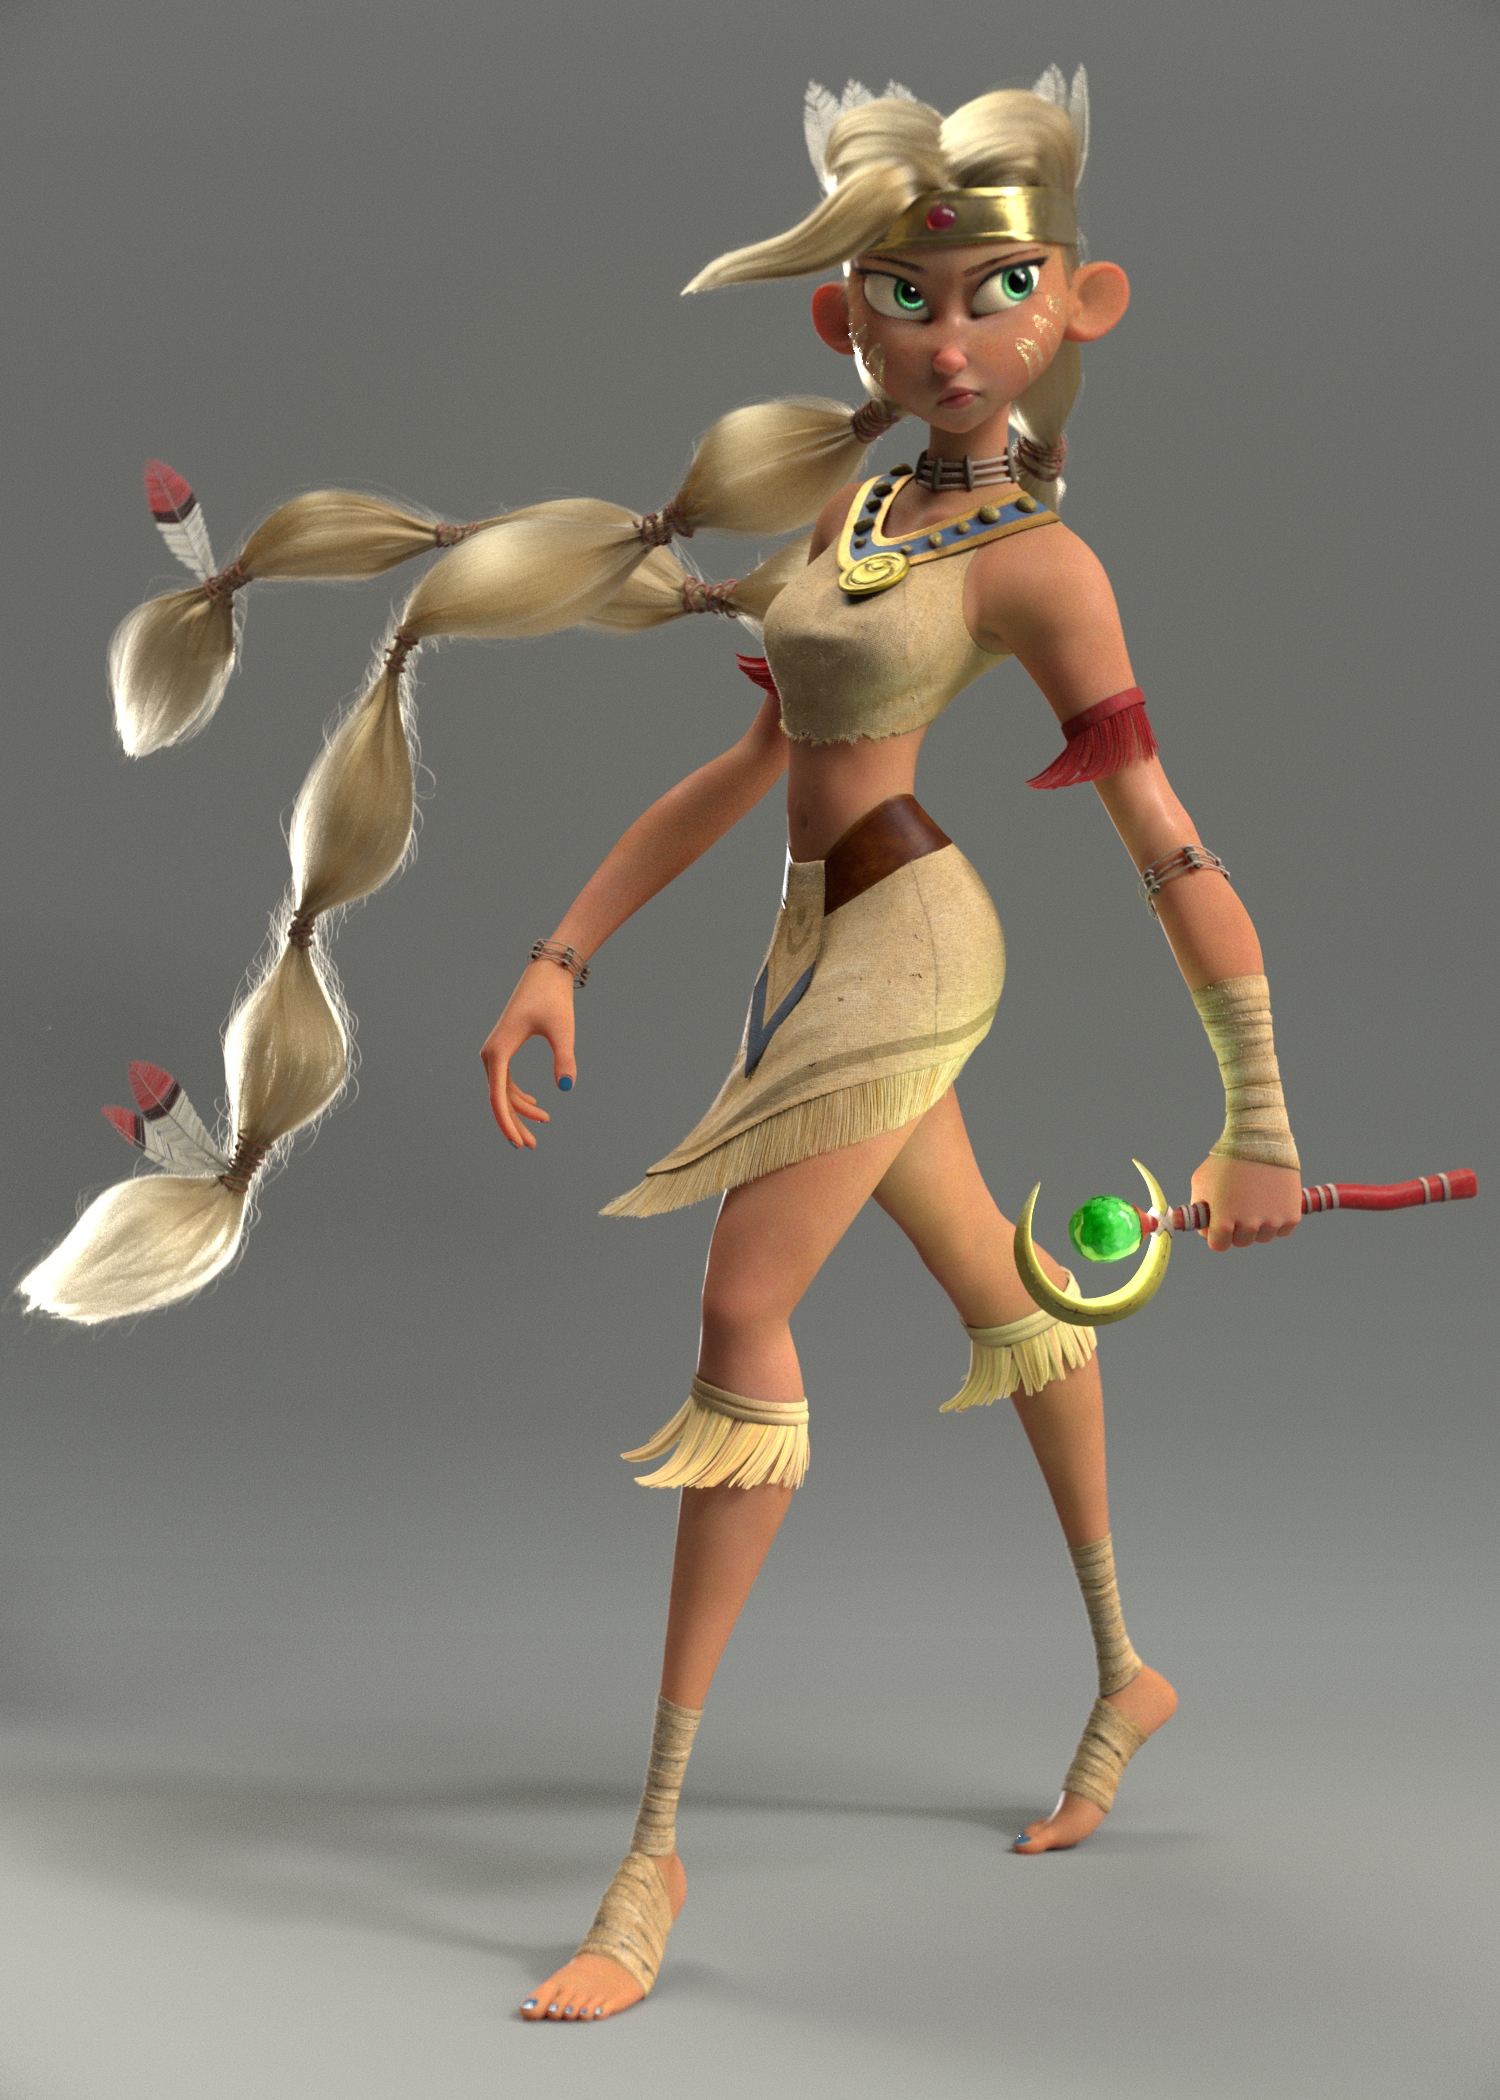
Final comp render of my personal project “Sailor Moon”, concept by Gop Gap, model by Jacopo Piccini, POTA lens shader by Zeno Pelgrims.
Hello ! I would like to share you the making of this personal project called “Sailor Moon”. Beforehand, I would like to say thank you for the amazing concept by Gop Gap, and awesome model by Jacopo Piccini. (and also for POTA lens shader by Zeno Pelgrims, make sure to check it out !).
01 - PREPARATION
After several years of work experience, I felt like challenging myself to do a big project. Since I have not been creating any new Texturing and Look Development work for characters outside a school assignment that I had back then, I ended up choosing to do a character texturing & lookdev work. After looking through a couple of models that I really like, I ended up choosing a piece from Jacopo Piccini as a model for me to work on this project.
GOALS
Inspired by the quality of the work during the ending credits of “Moana”, I decided to set up some goals, which were:
using XGen to generate high quality hair.
using procedurals if possible to speed up work.
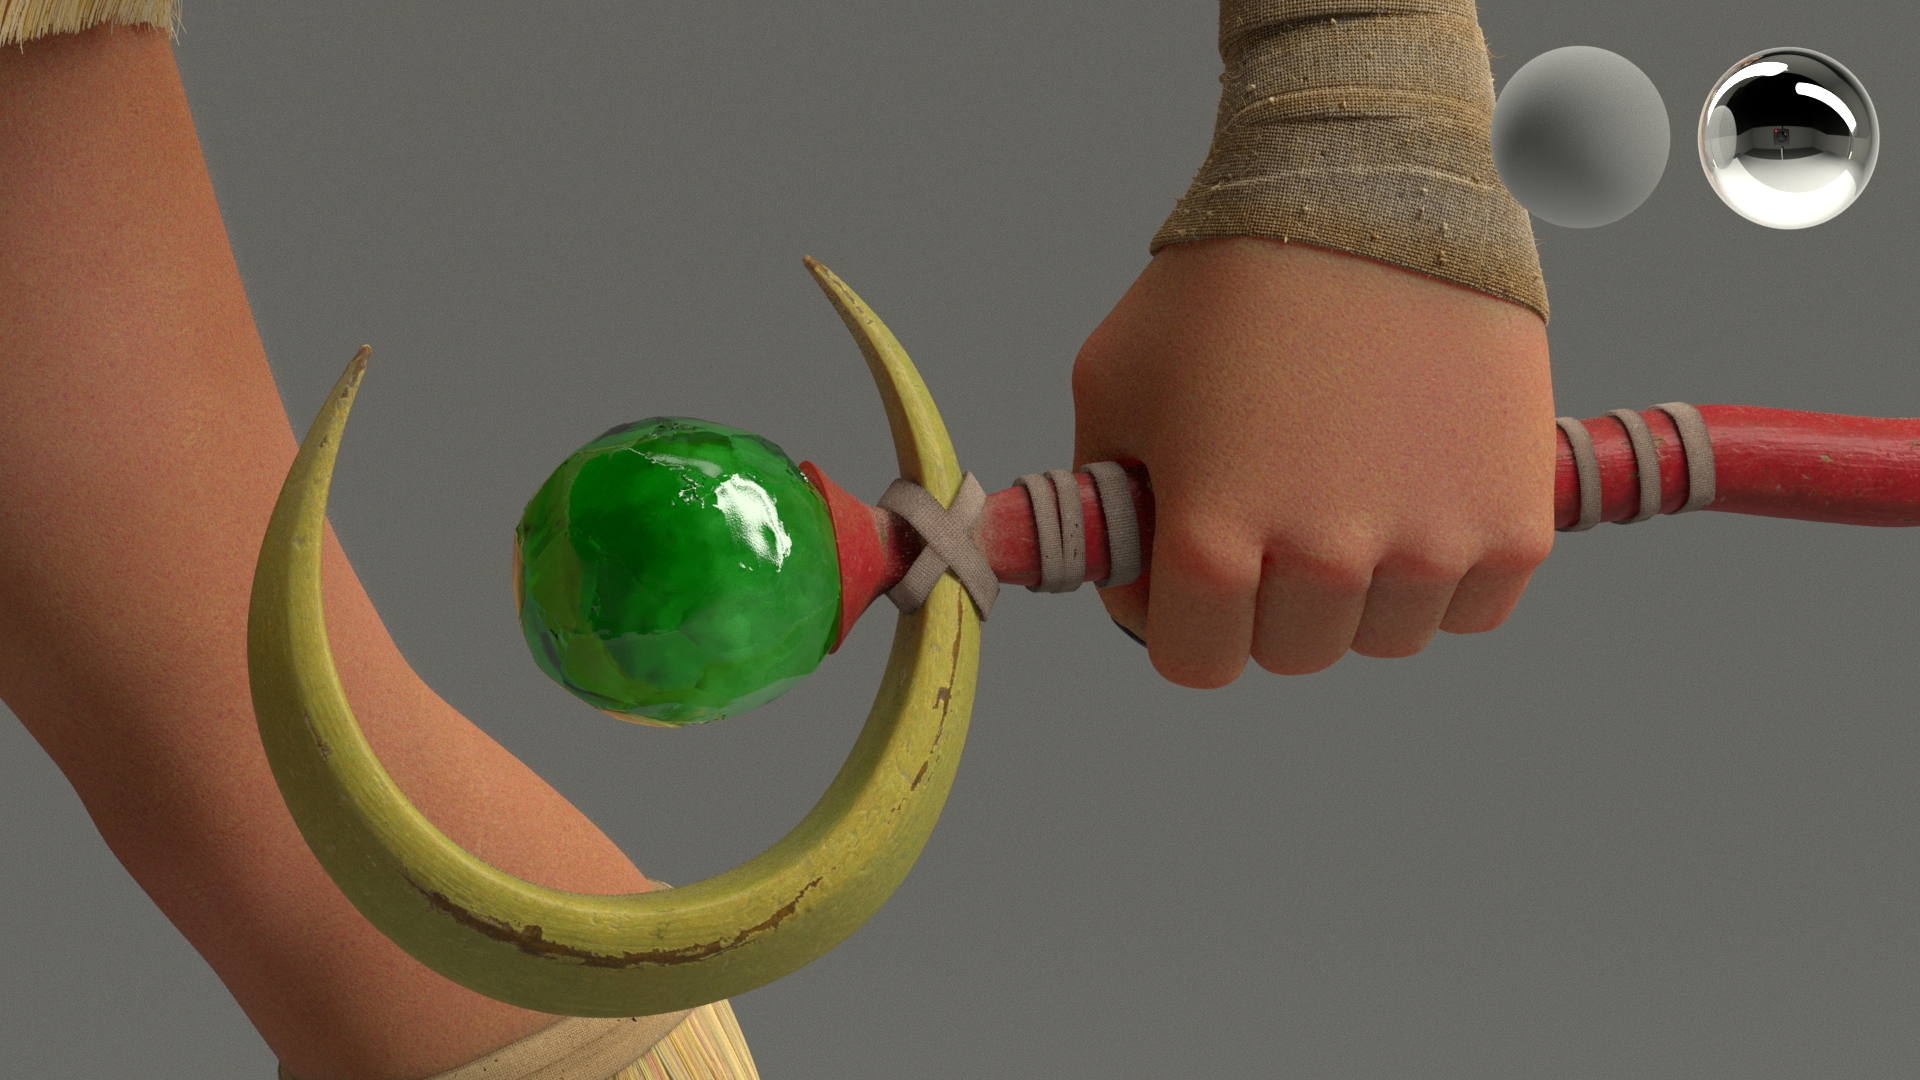
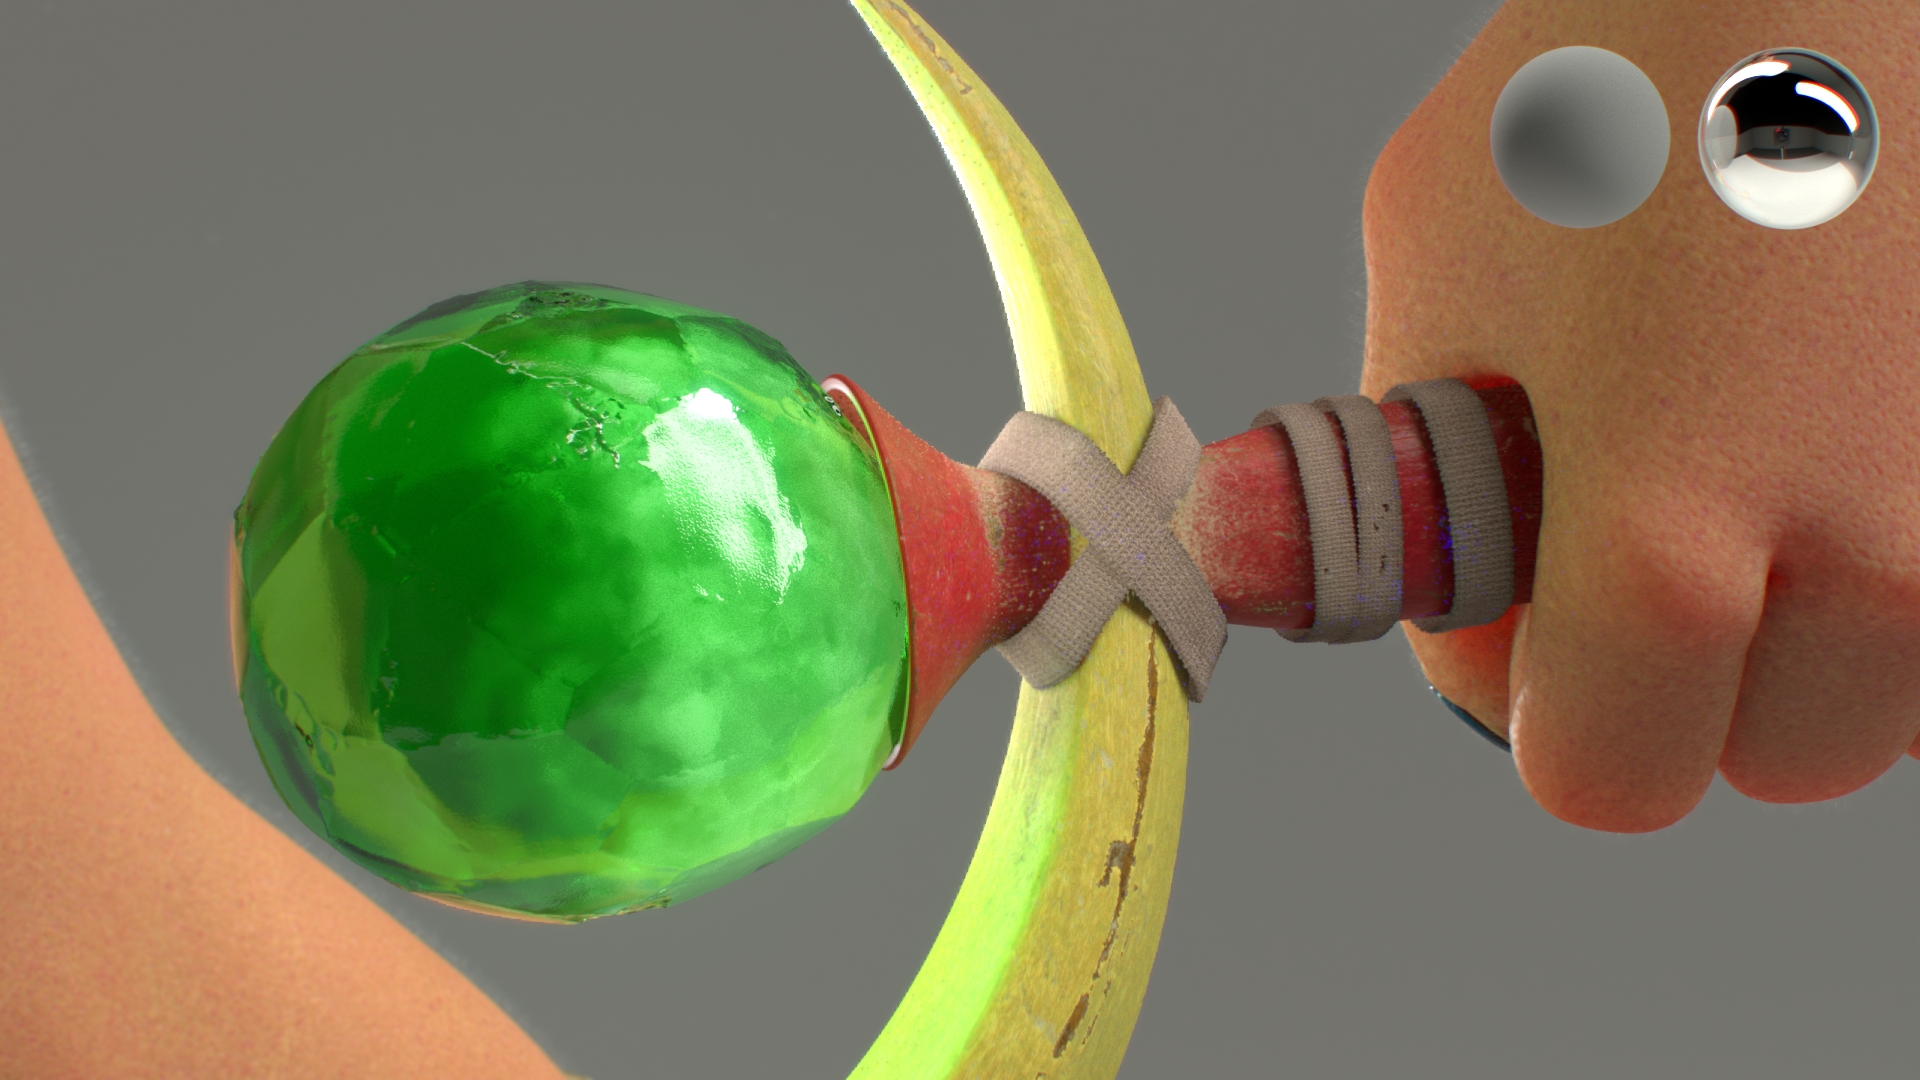
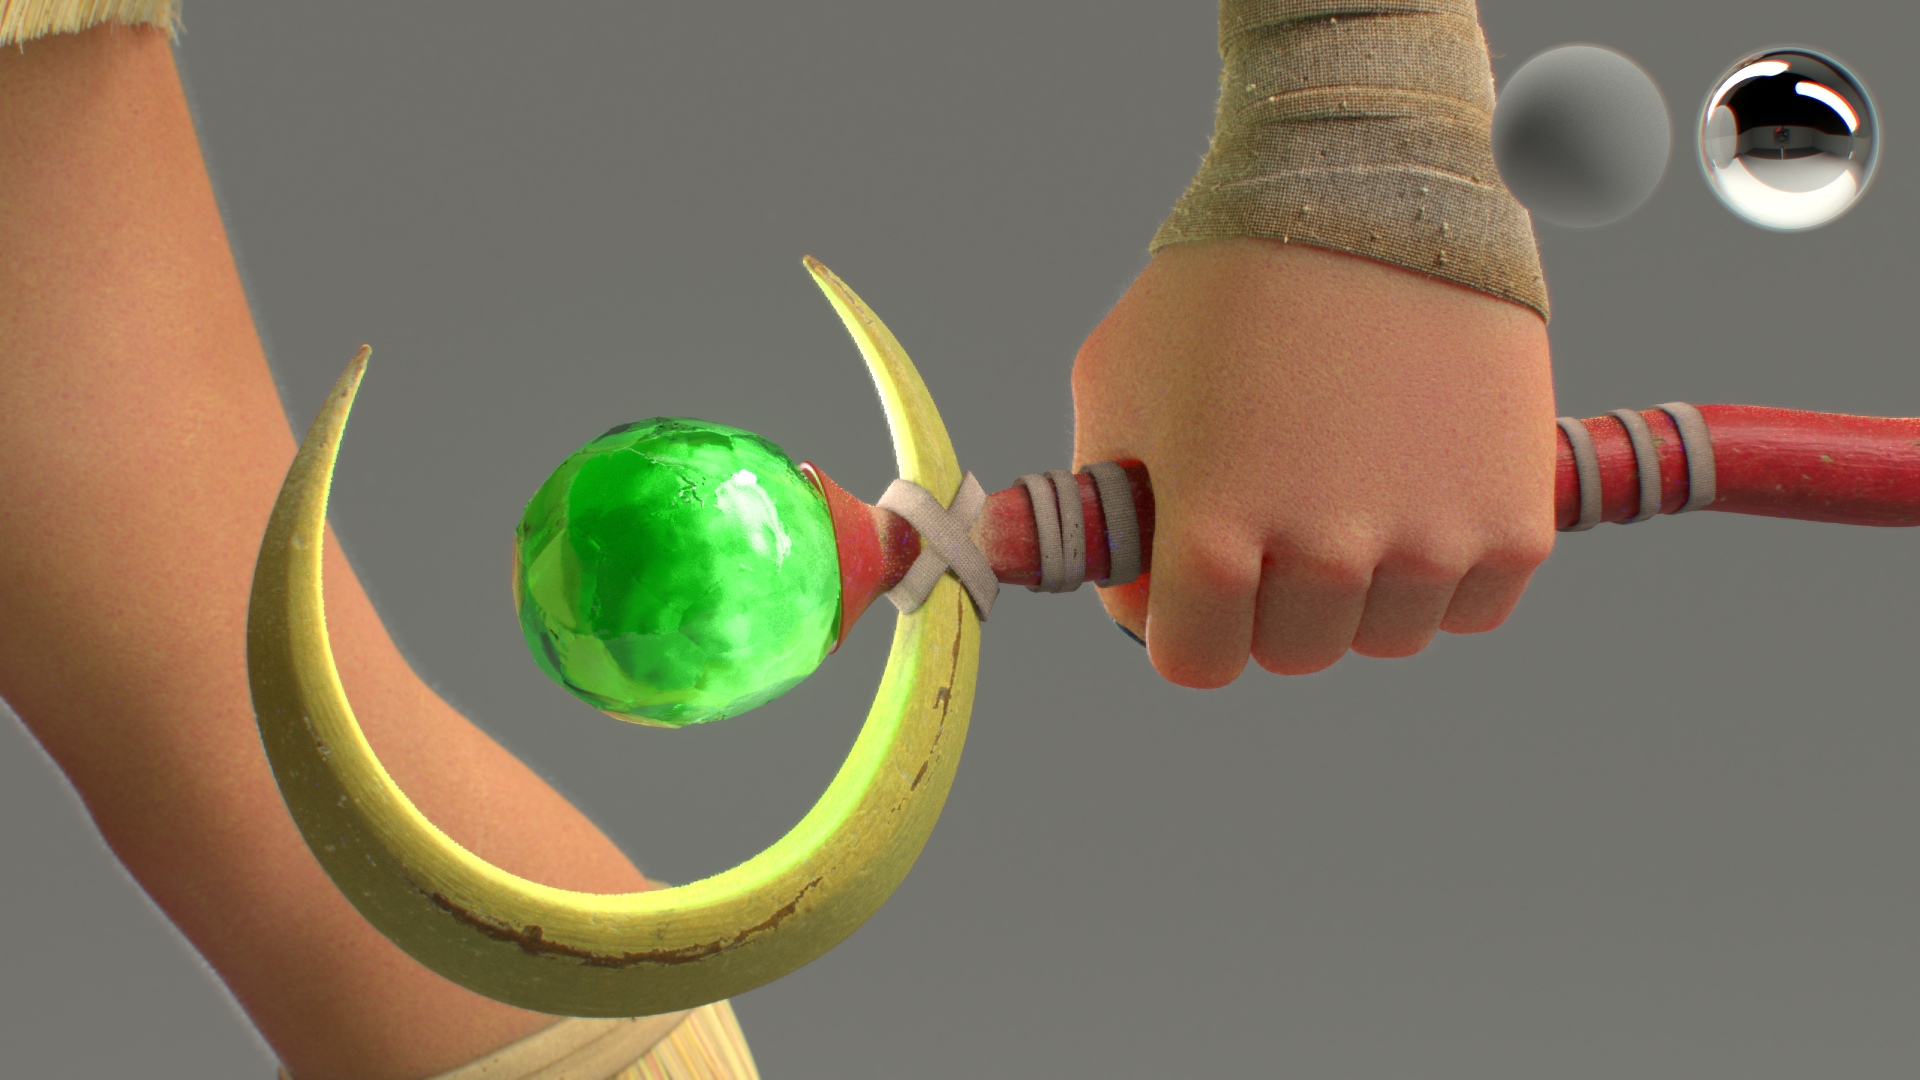
achieve high quality close up look (dust granule, fabric strands).
REFERENCES
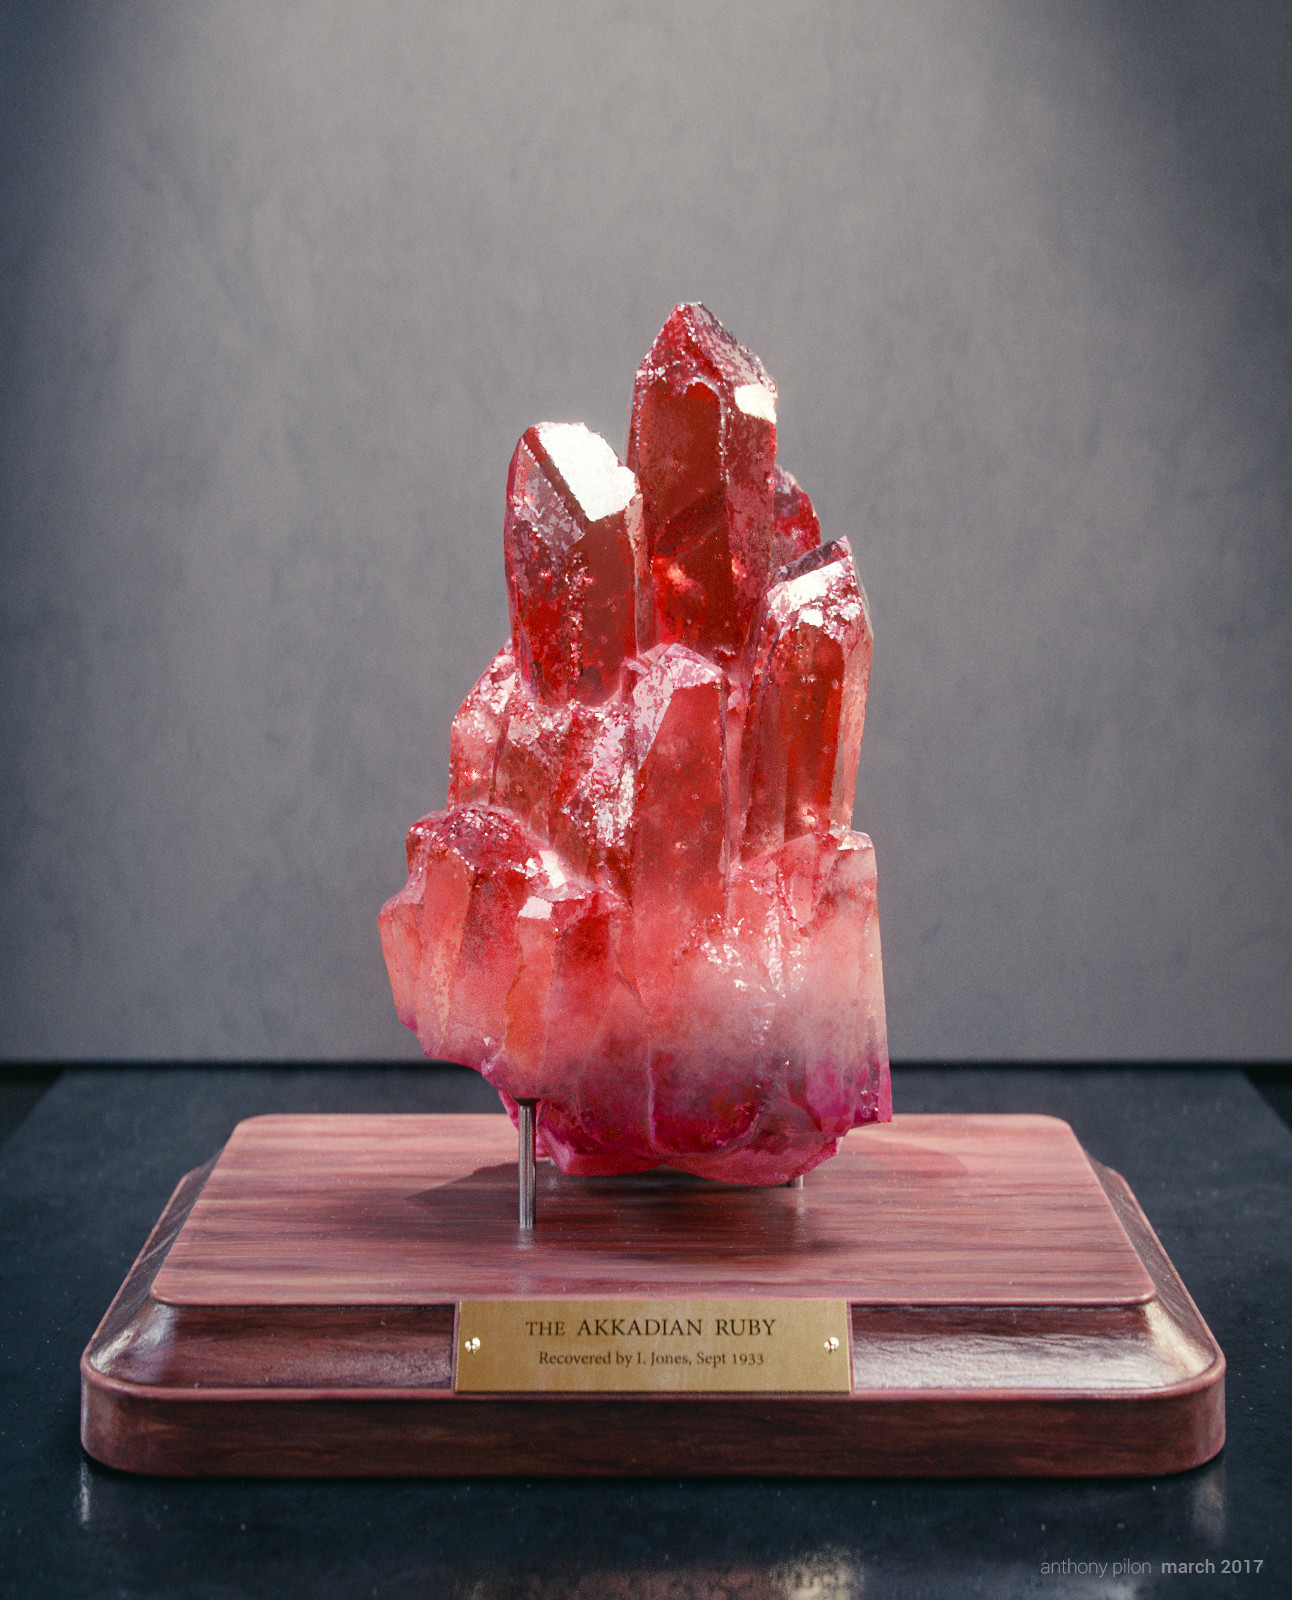
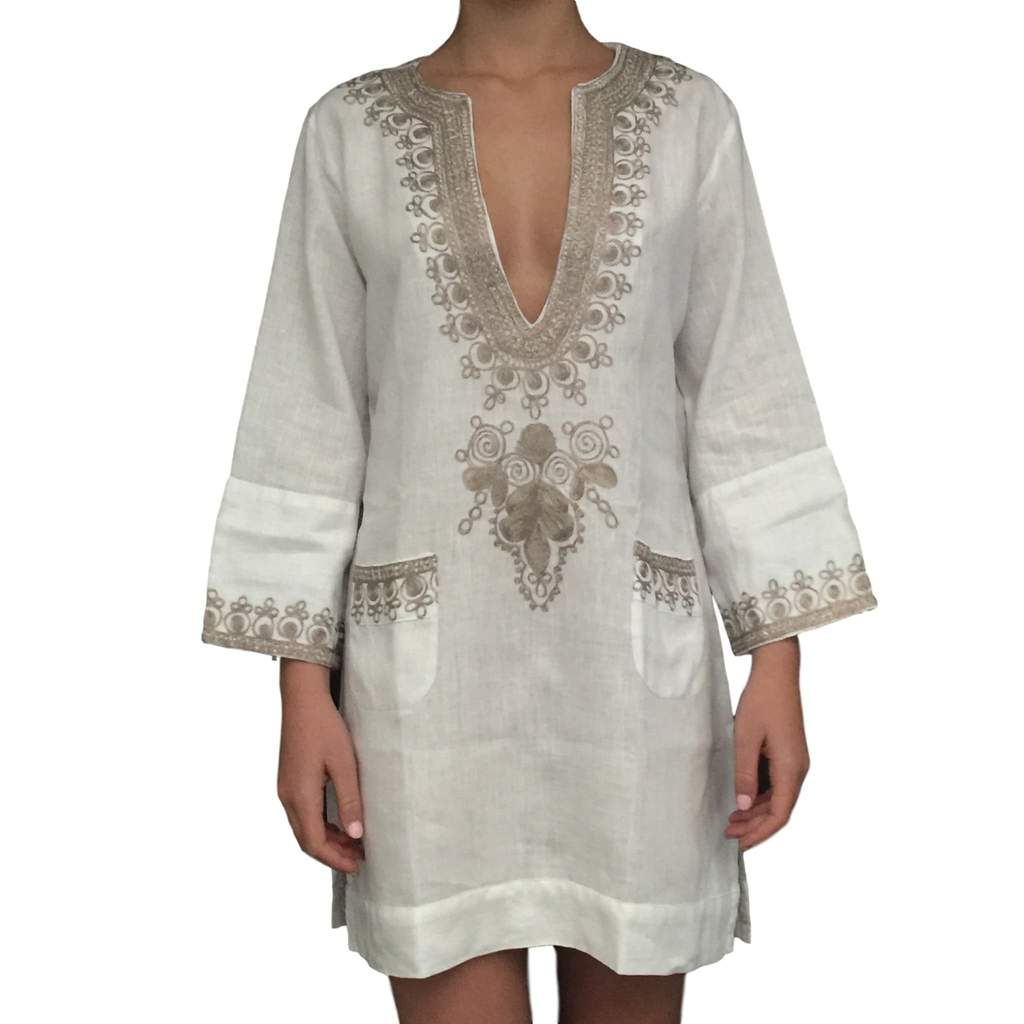
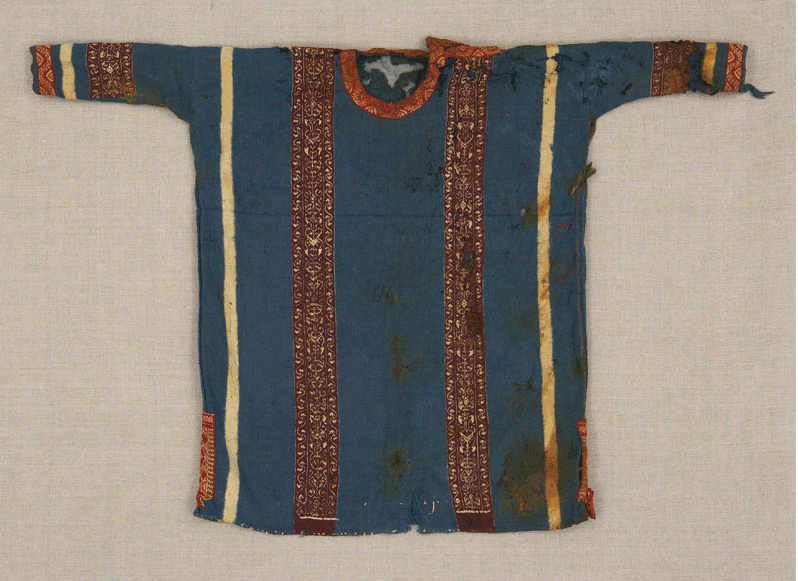
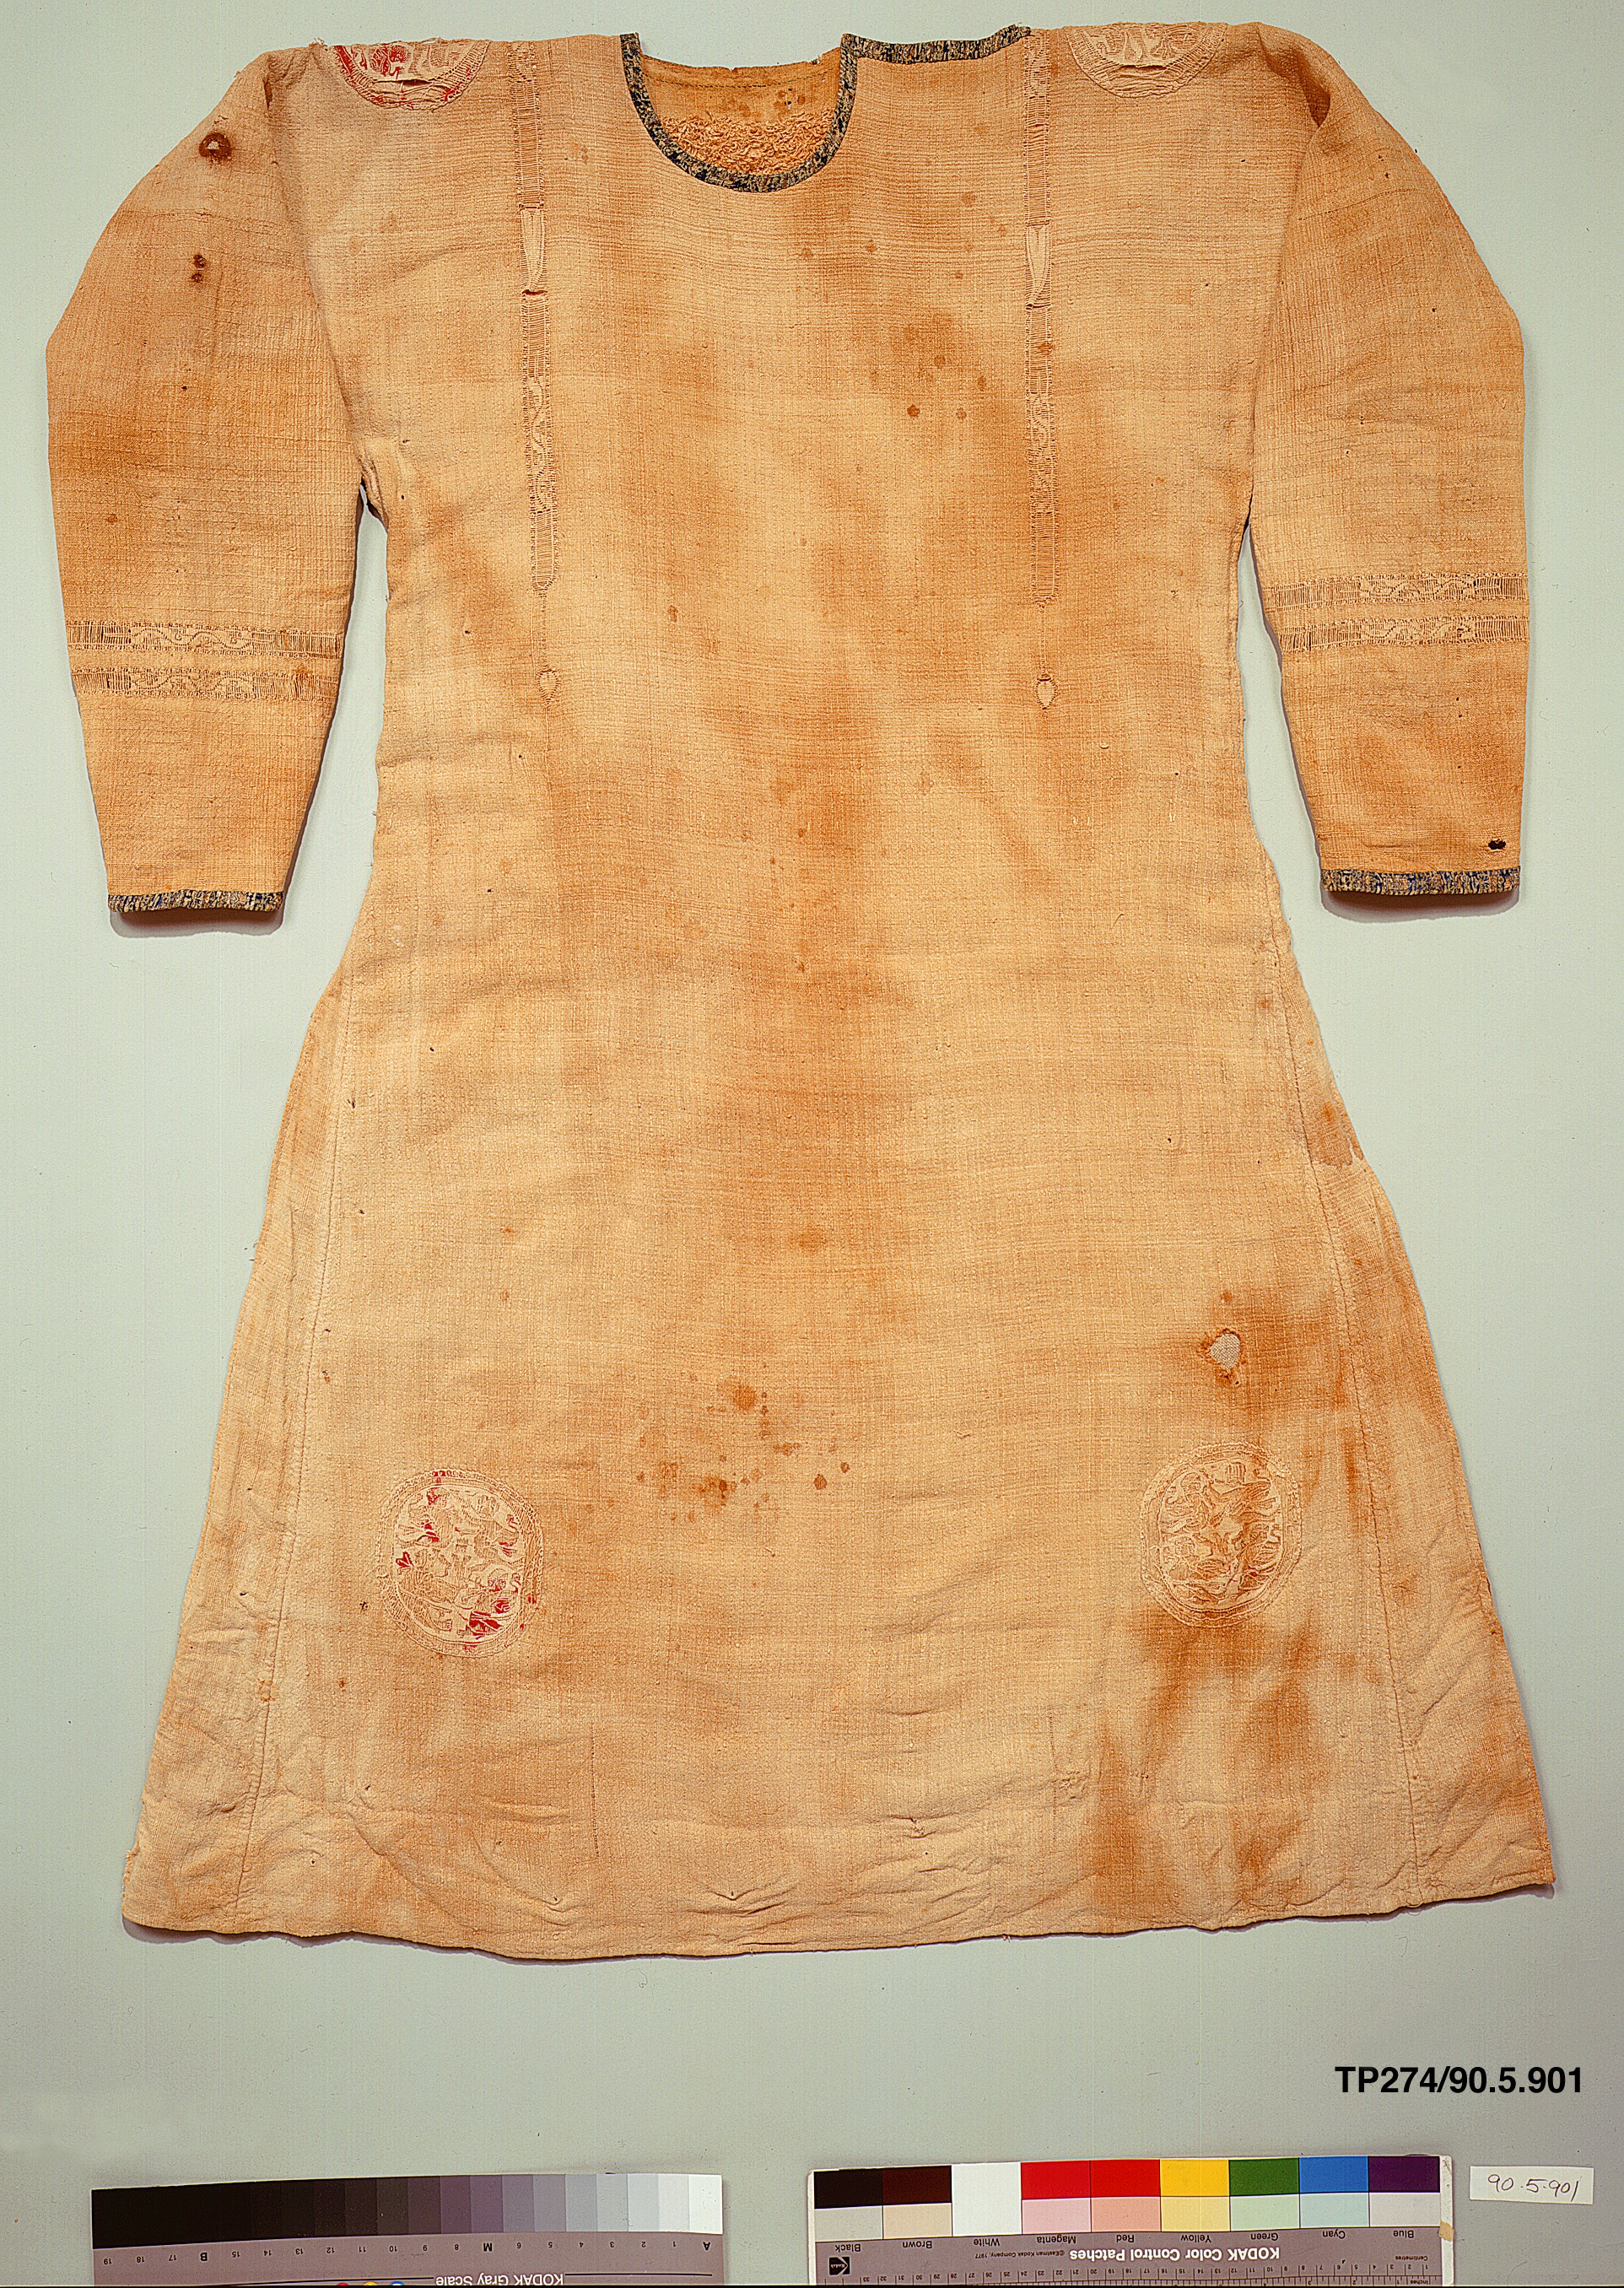
Here is a list of references that I used, including works from other people as well, as a target goal on the quality of work that I should achieve within this project.






02 - UV & TEXTURING
UV
Below is how I laid out my UV for this character.


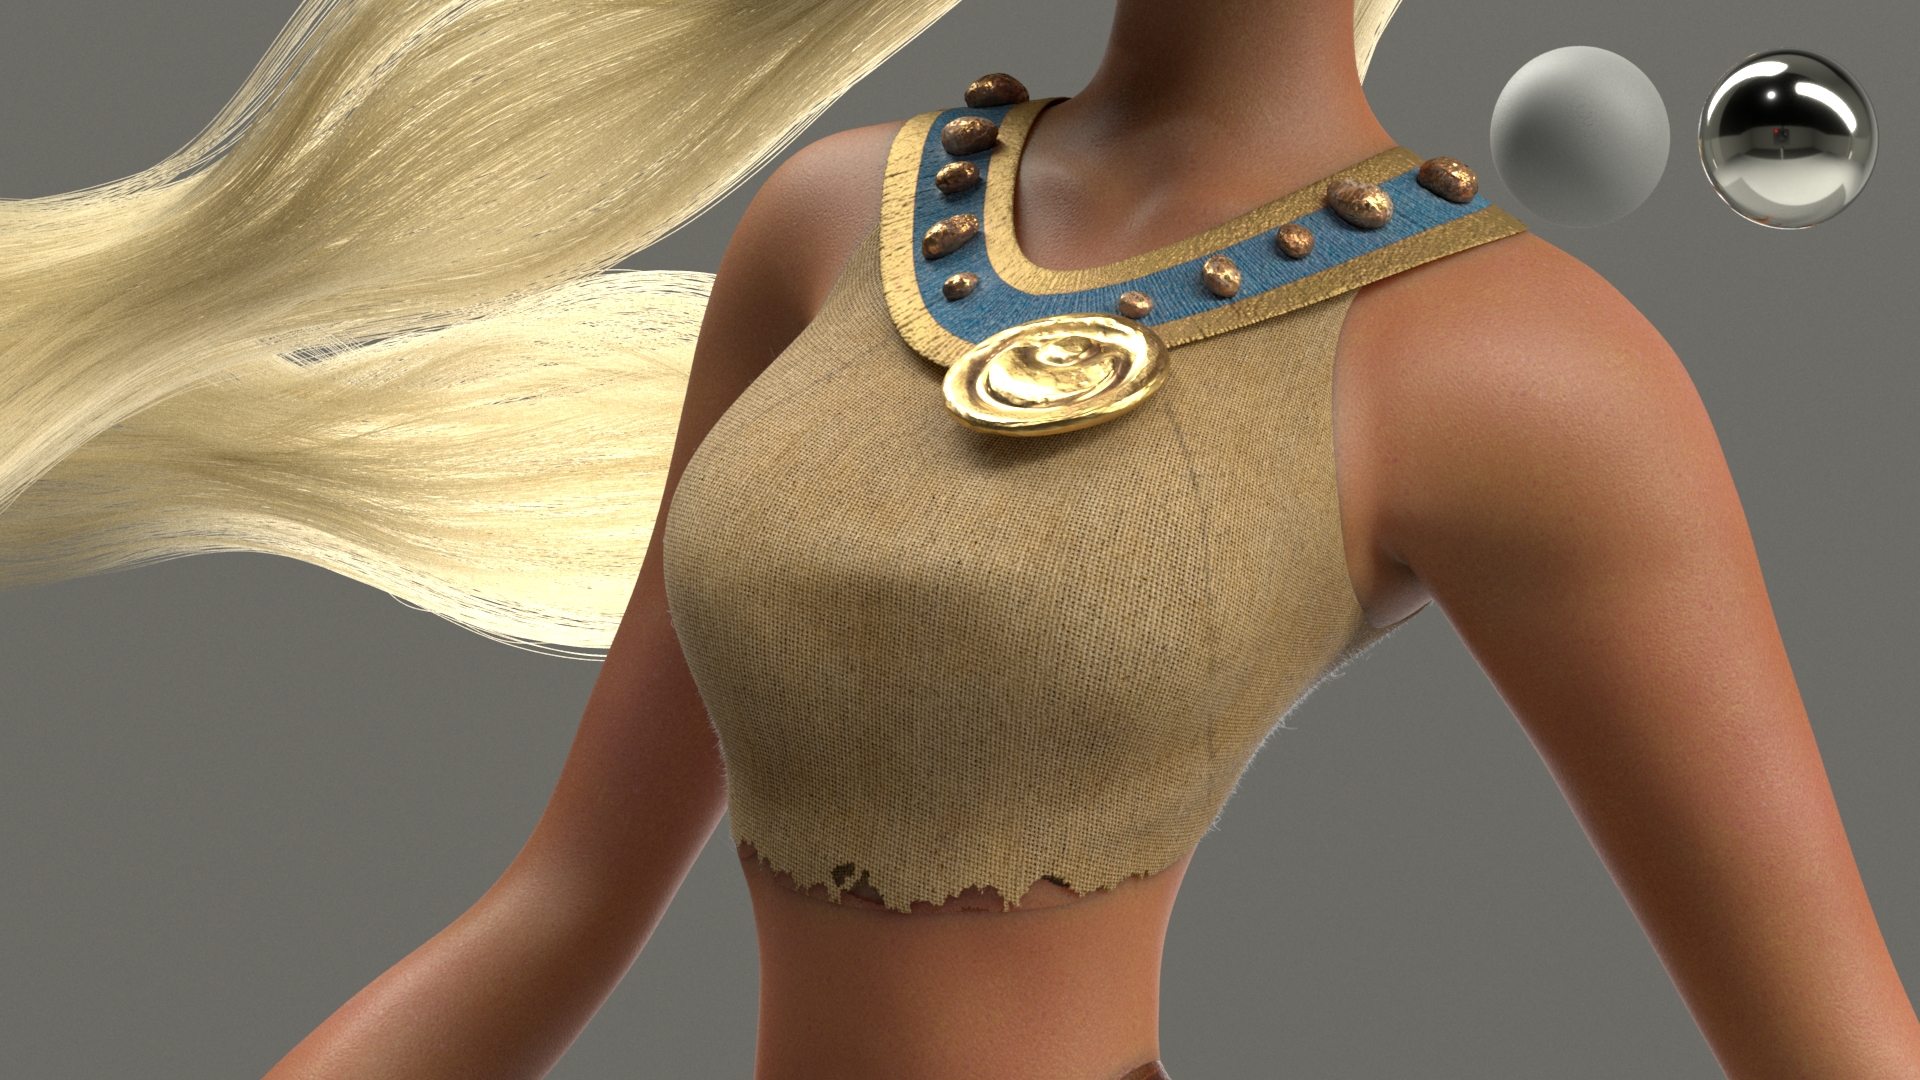
So for this project, I laid out my UV a little bit differently than my usual UDIM method. For objects that usually needs a pretty long UV (i.e : shoelaces, bracelet, hairband), I laid out my UV with the width from 0-1 U tile and just leaving the length as long as possible. This way when I apply a procedural texture, it would be seamless and independent at resolution.
TEXTURE
For texture, I did my texture a little bit differently as well which by utilizing RGB maps as much as possible. you can see the tutorial on how to generate the RGB mask here by Dusan Kovic. You also can see how I set up the RGB maps below, I found that this method is really useful for tweaking displacement maps efficiently in shading stage later.


03 - SHADING
TESTING
For this project, I specifically tried to do a couple of tests in order to achieve high quality close-up details, which in my plan at that time were:
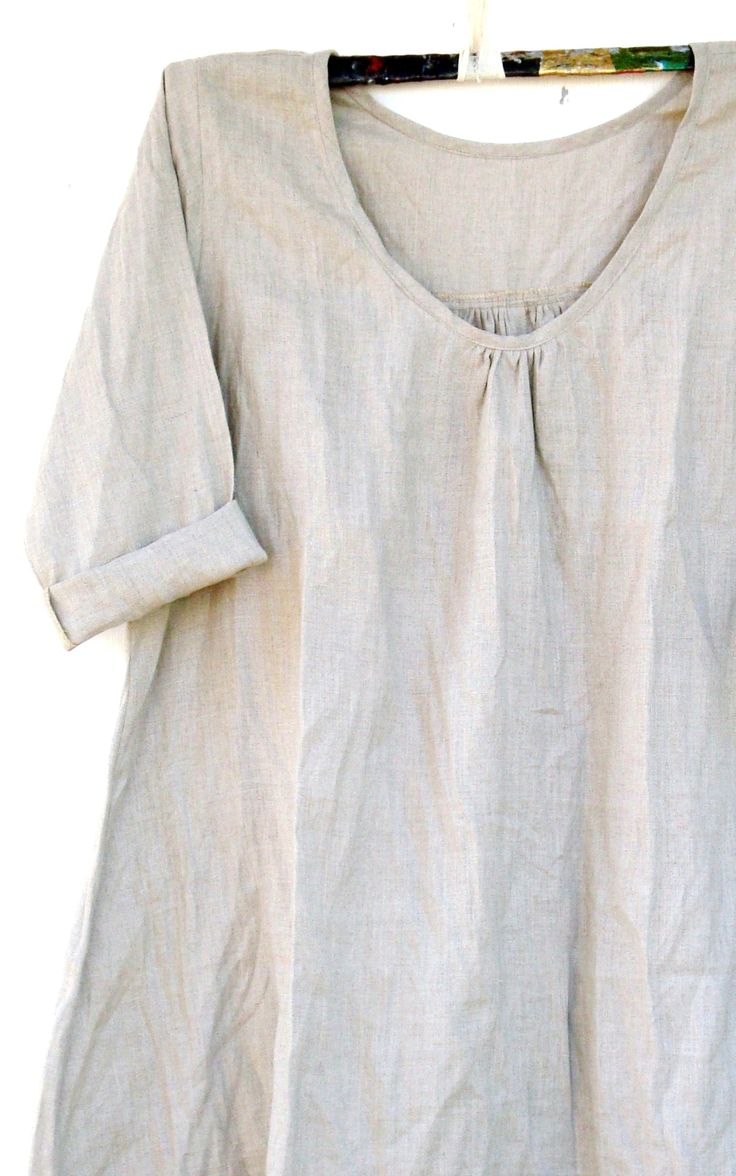
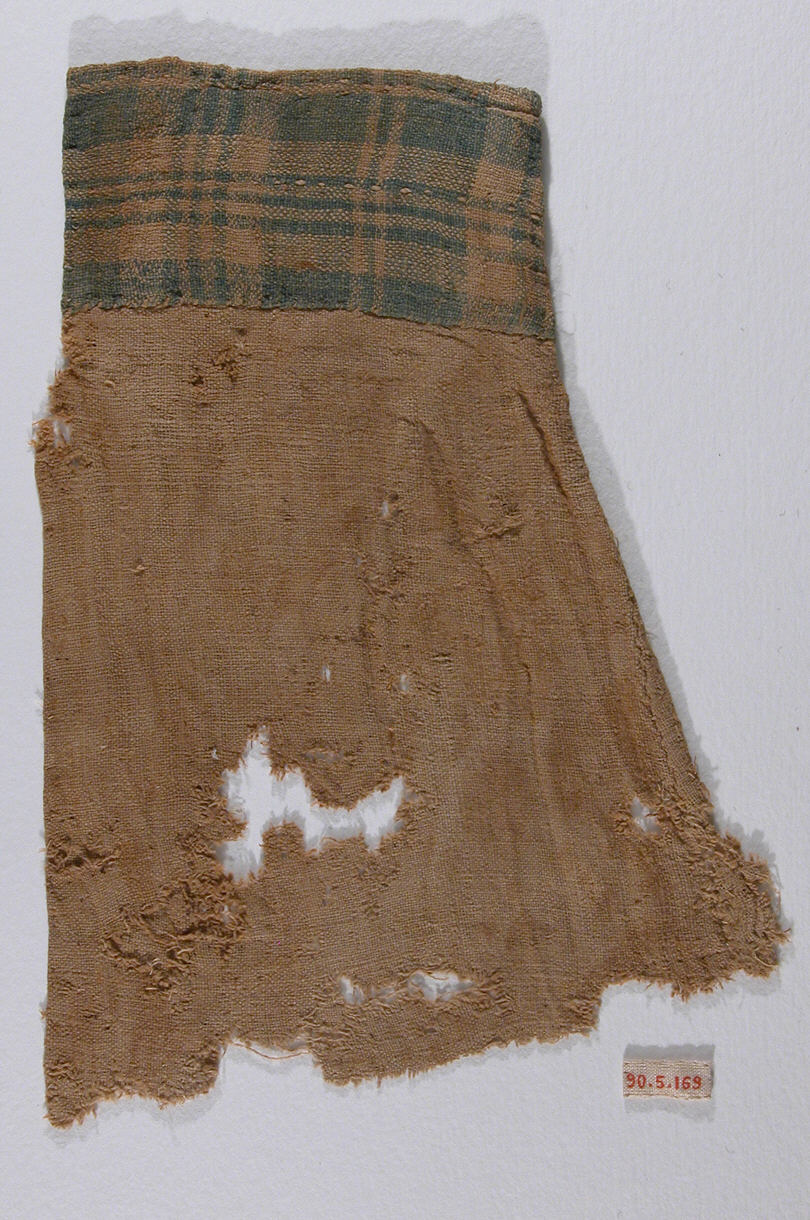
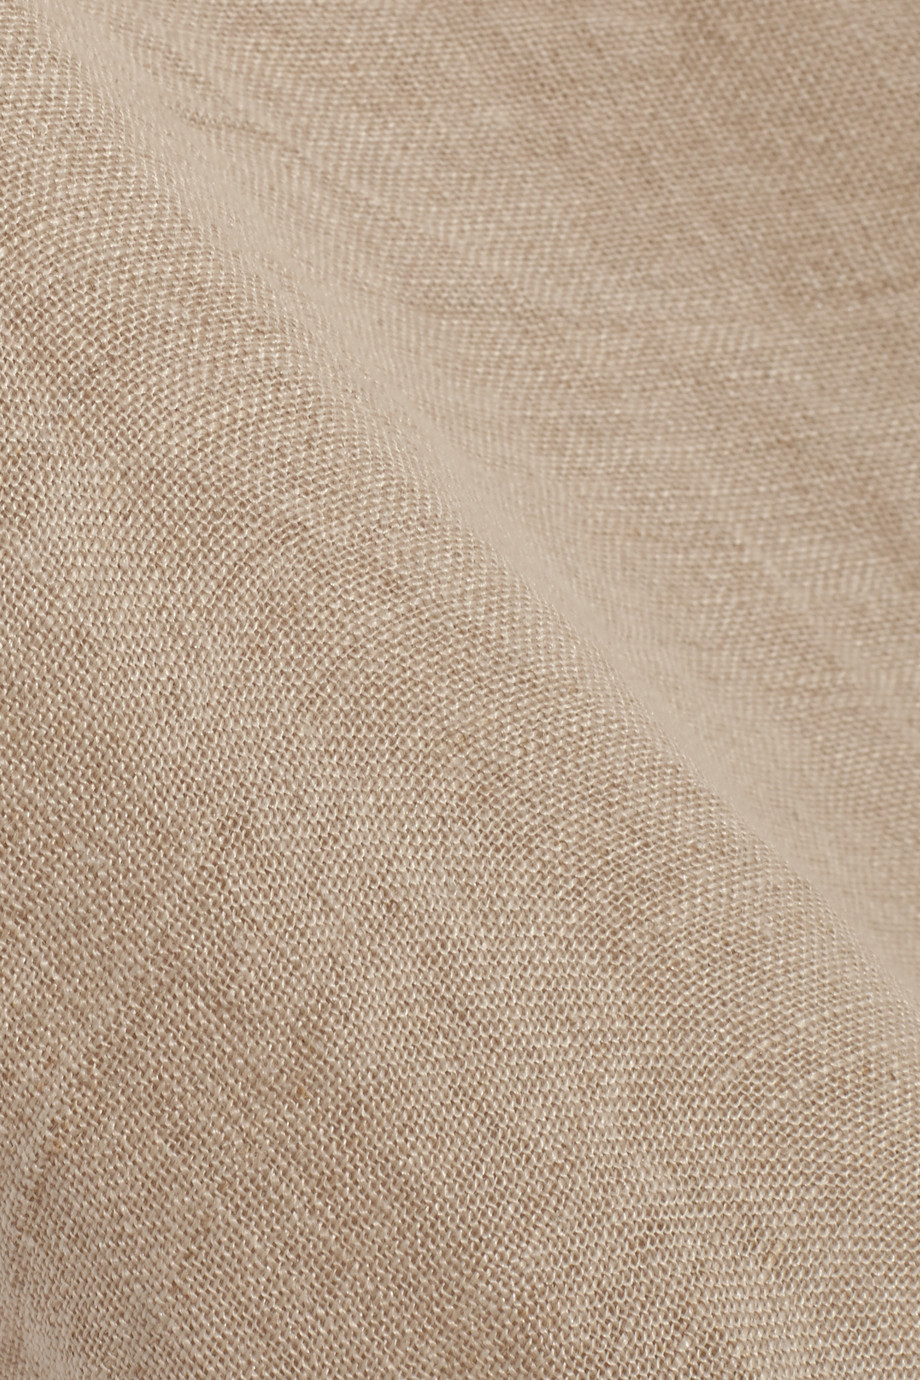
Fabric : actual weave for all of the clothing (example here).
Dust Particles : a mix between actual dust geometry & textures for close up objects.
For the fabric, I tried to do it based on a tutorial that I found here. Unfortunately I was not able to do it due to several technical difficulties (i.e : translating the UV between mesh & curves representing the mesh). If you happen to know a way to do this actual weave fabric please send me an email because I would really love to see it ! Some of the tests will be shown below.
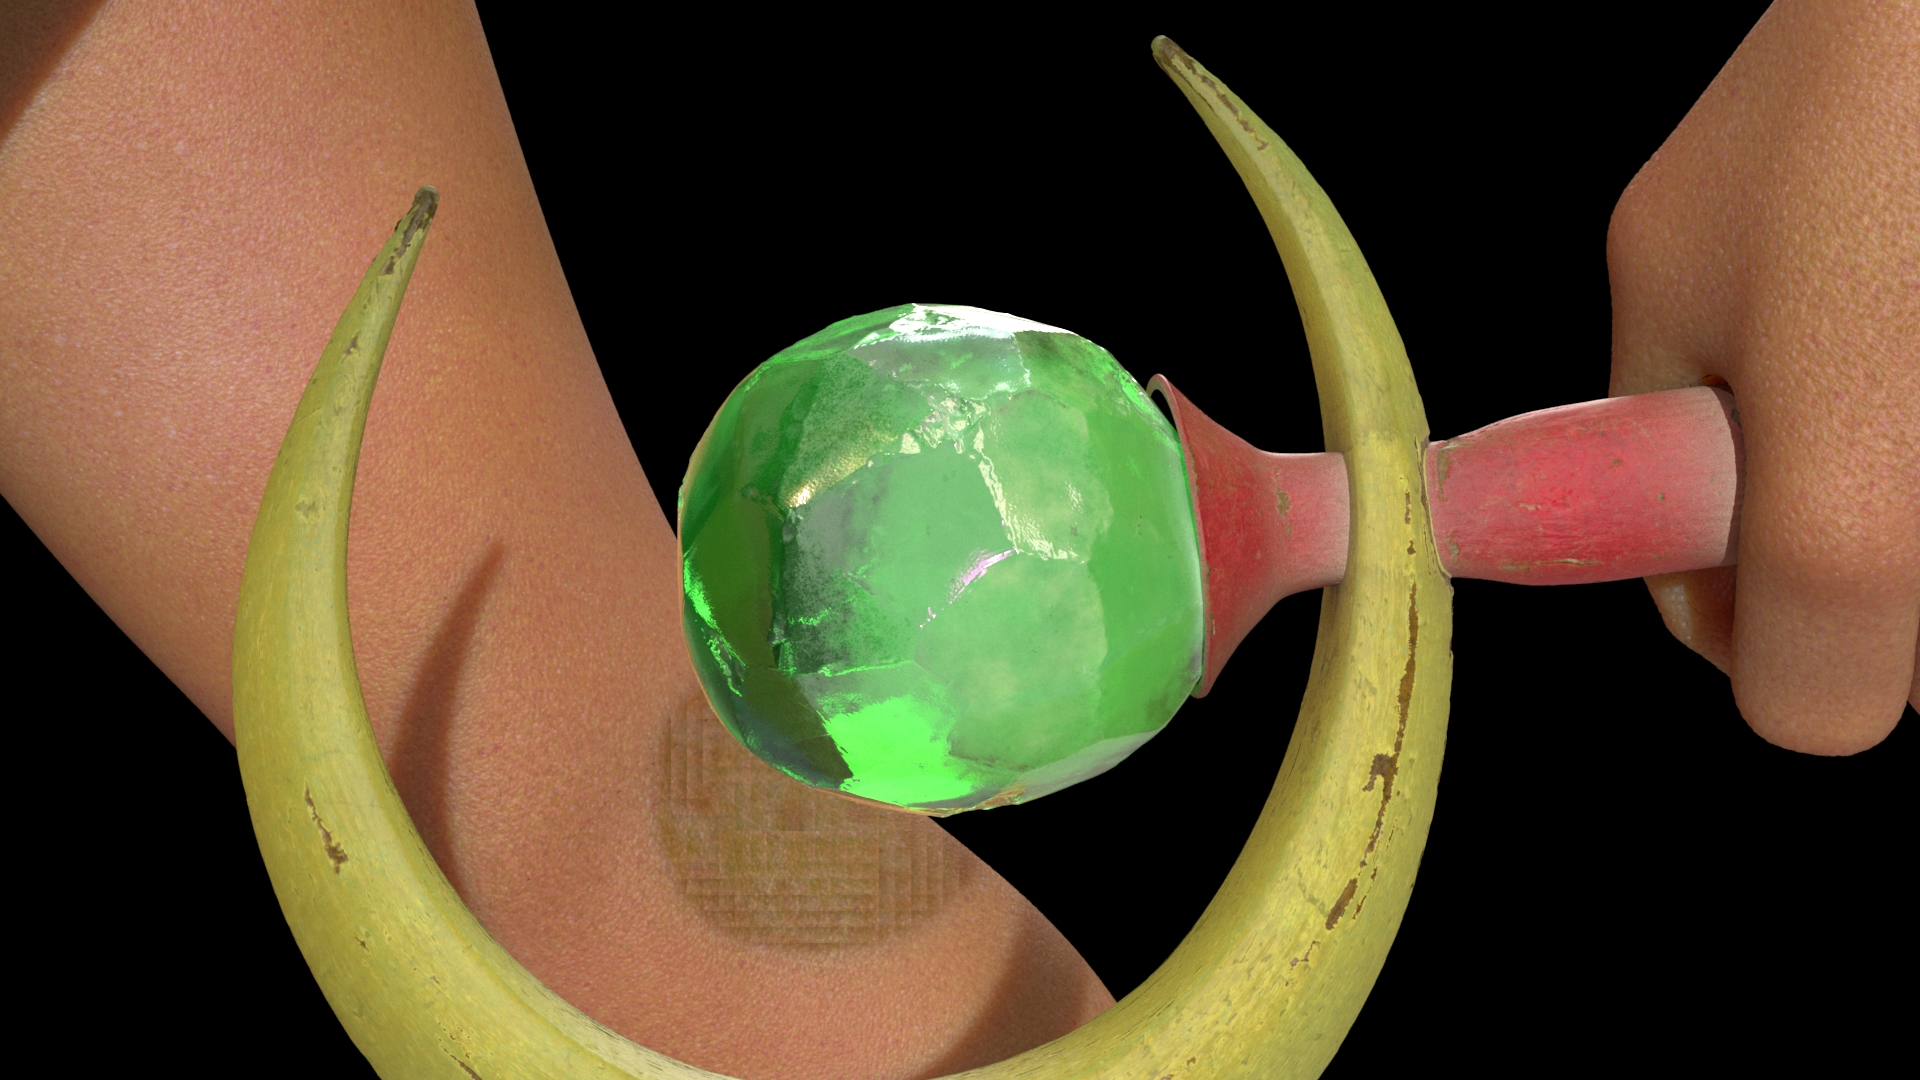
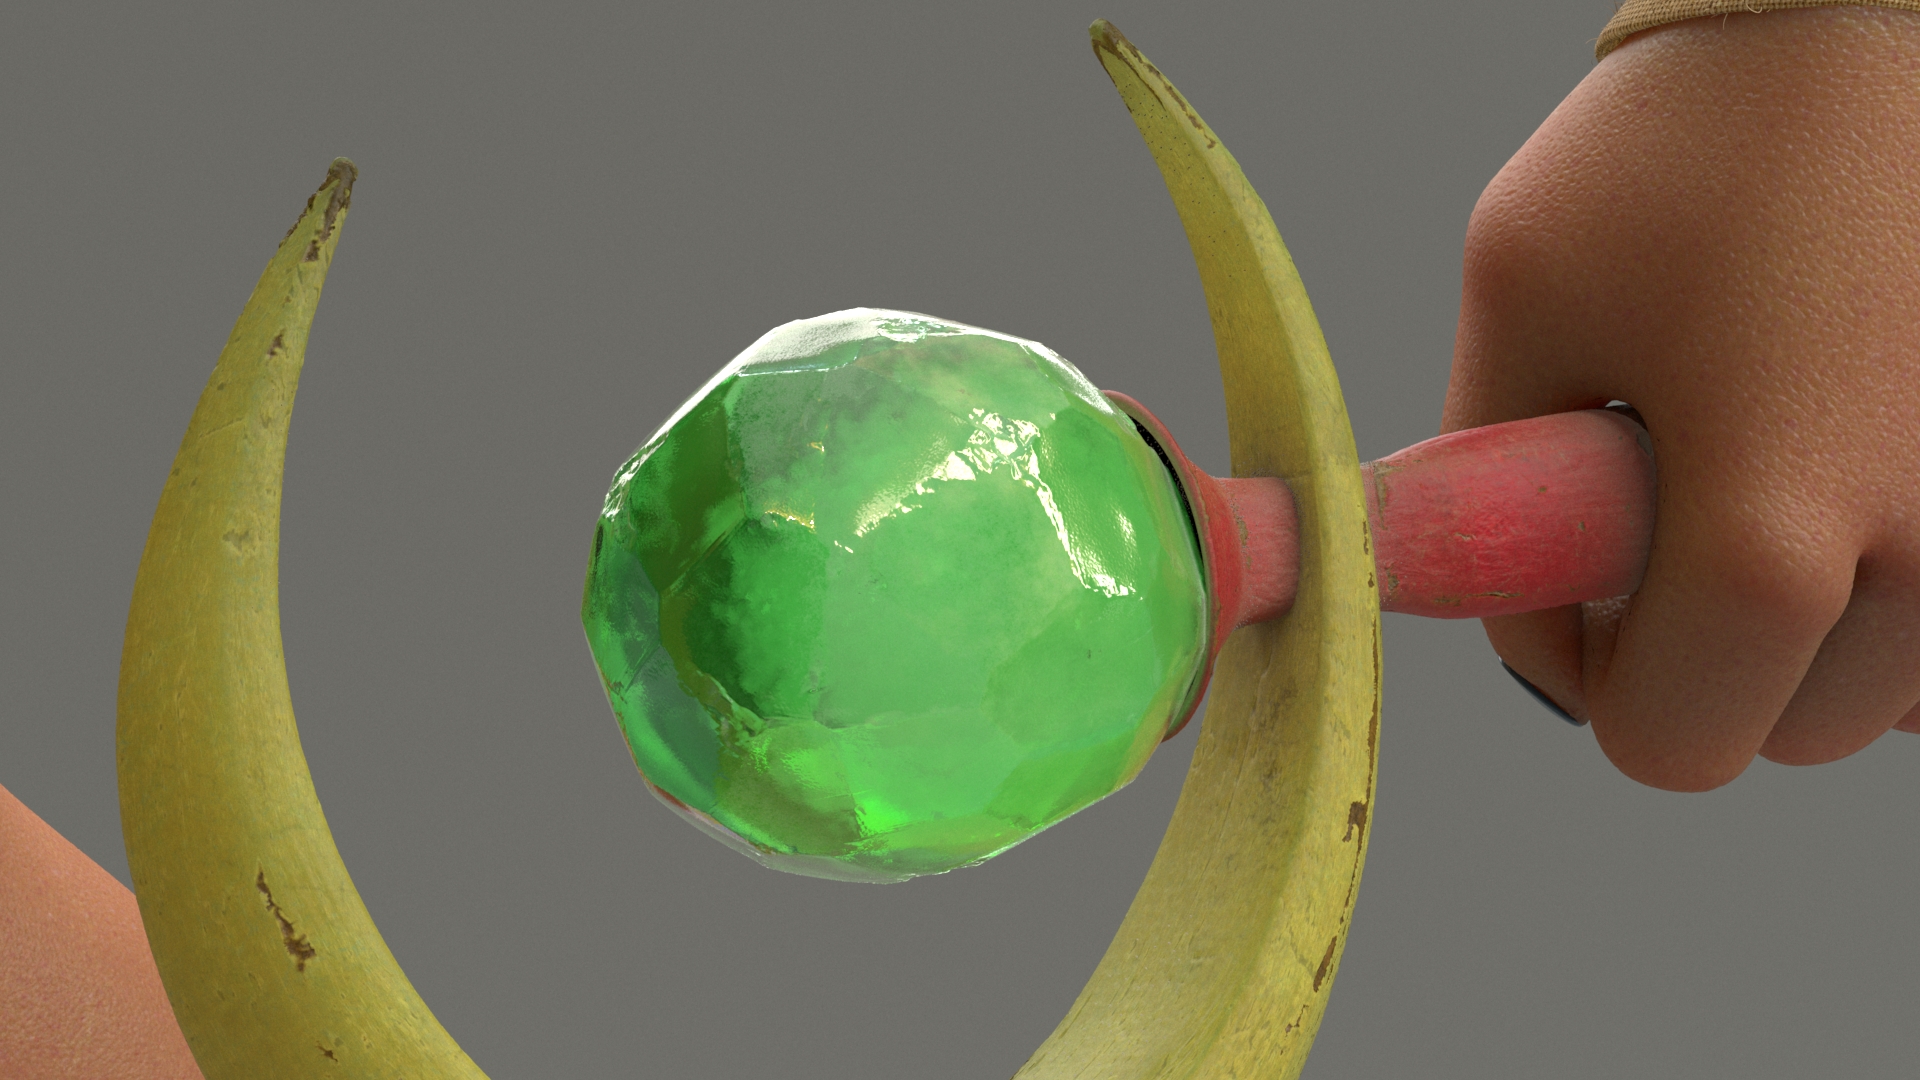
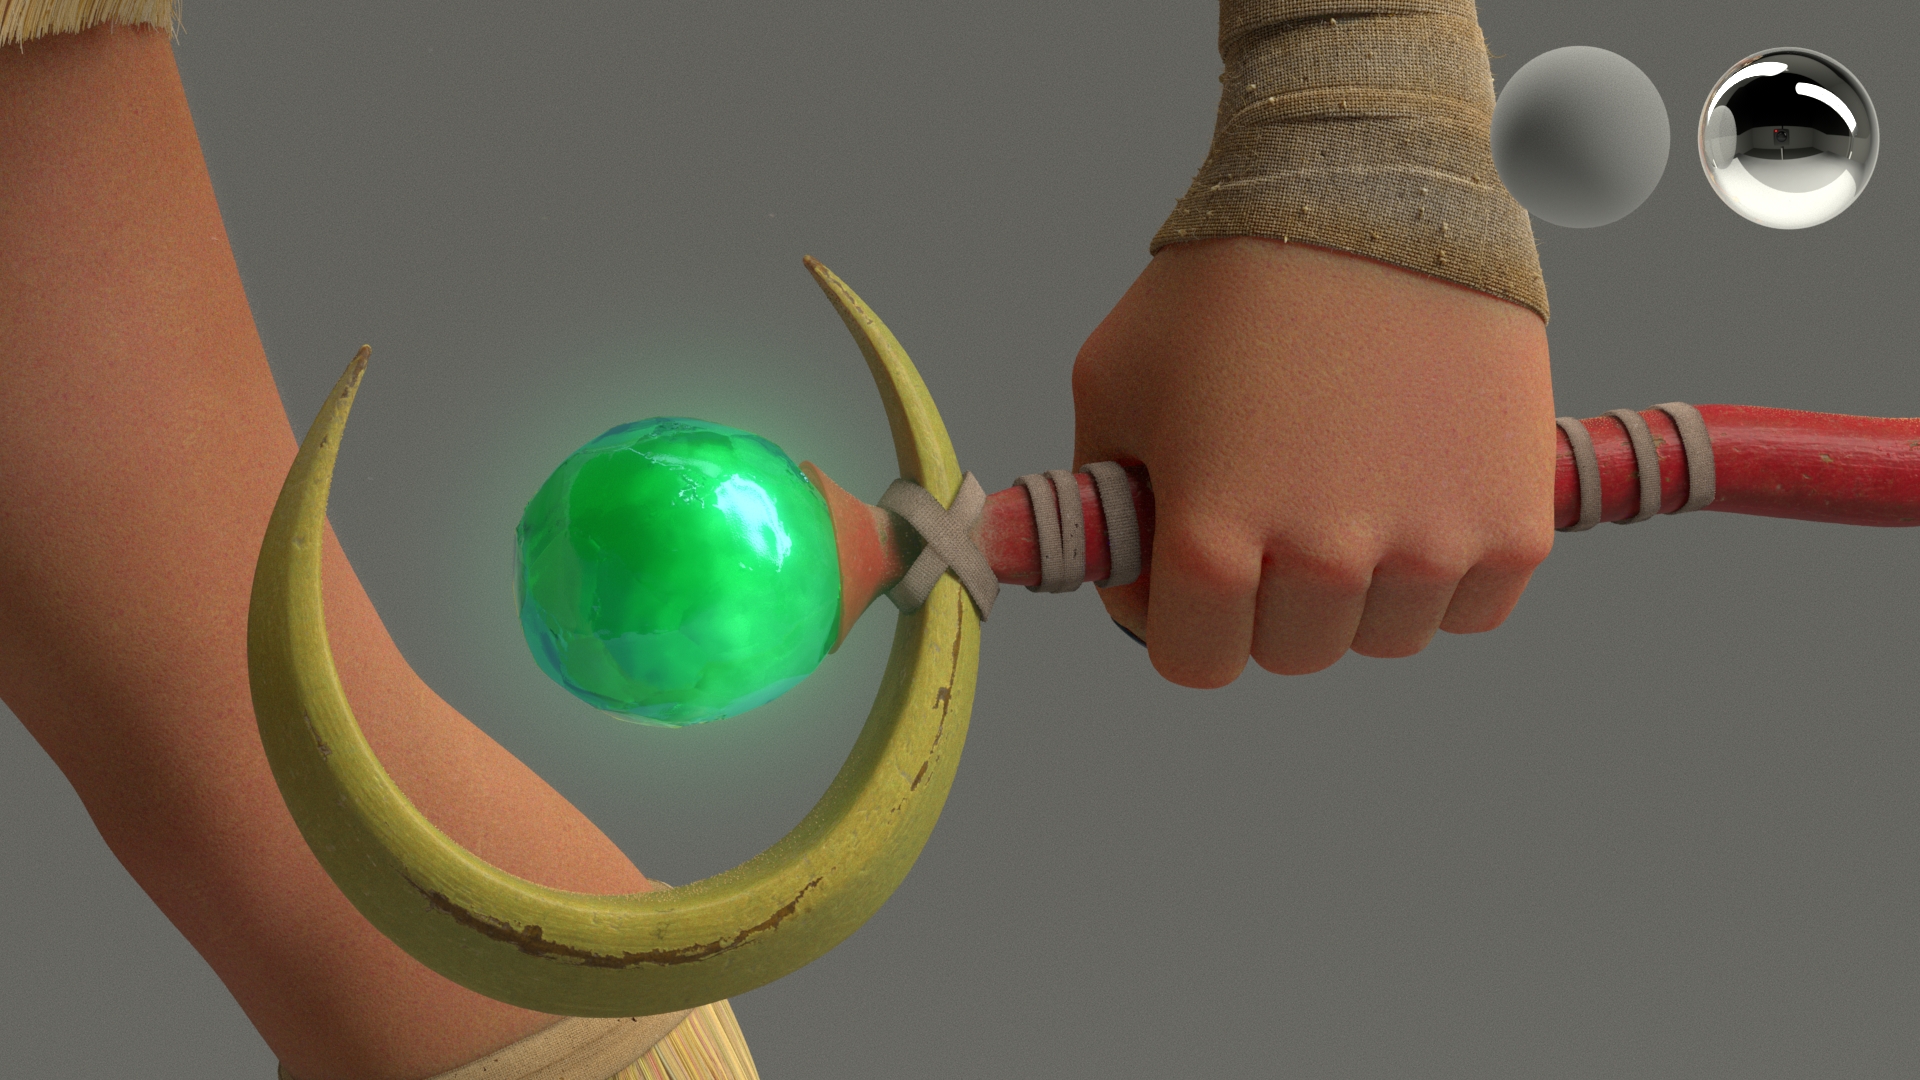
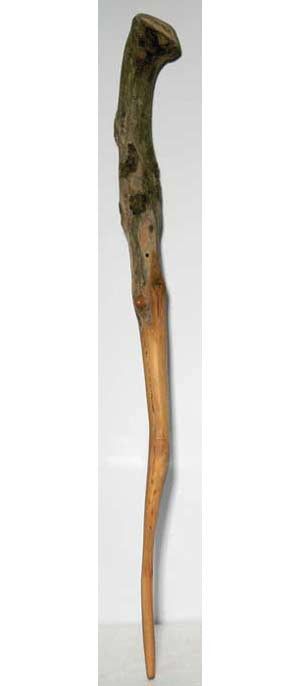
For the sand, I tried to do it by using XGen to populate assets, which in this case would be a couple different variations of sand. Fortunately the process was pretty straightforward and ended up using 8 different sand granules for this project, and applied them only for super close up shot to the wand. Below is a couple of images showing the sand granules, how I applied it in the wand with XGen, and the shader network for the granules, I tried to keep the shader as simple as possible so it will not freak out when I render it.
CRYSTAL BALL SHADING
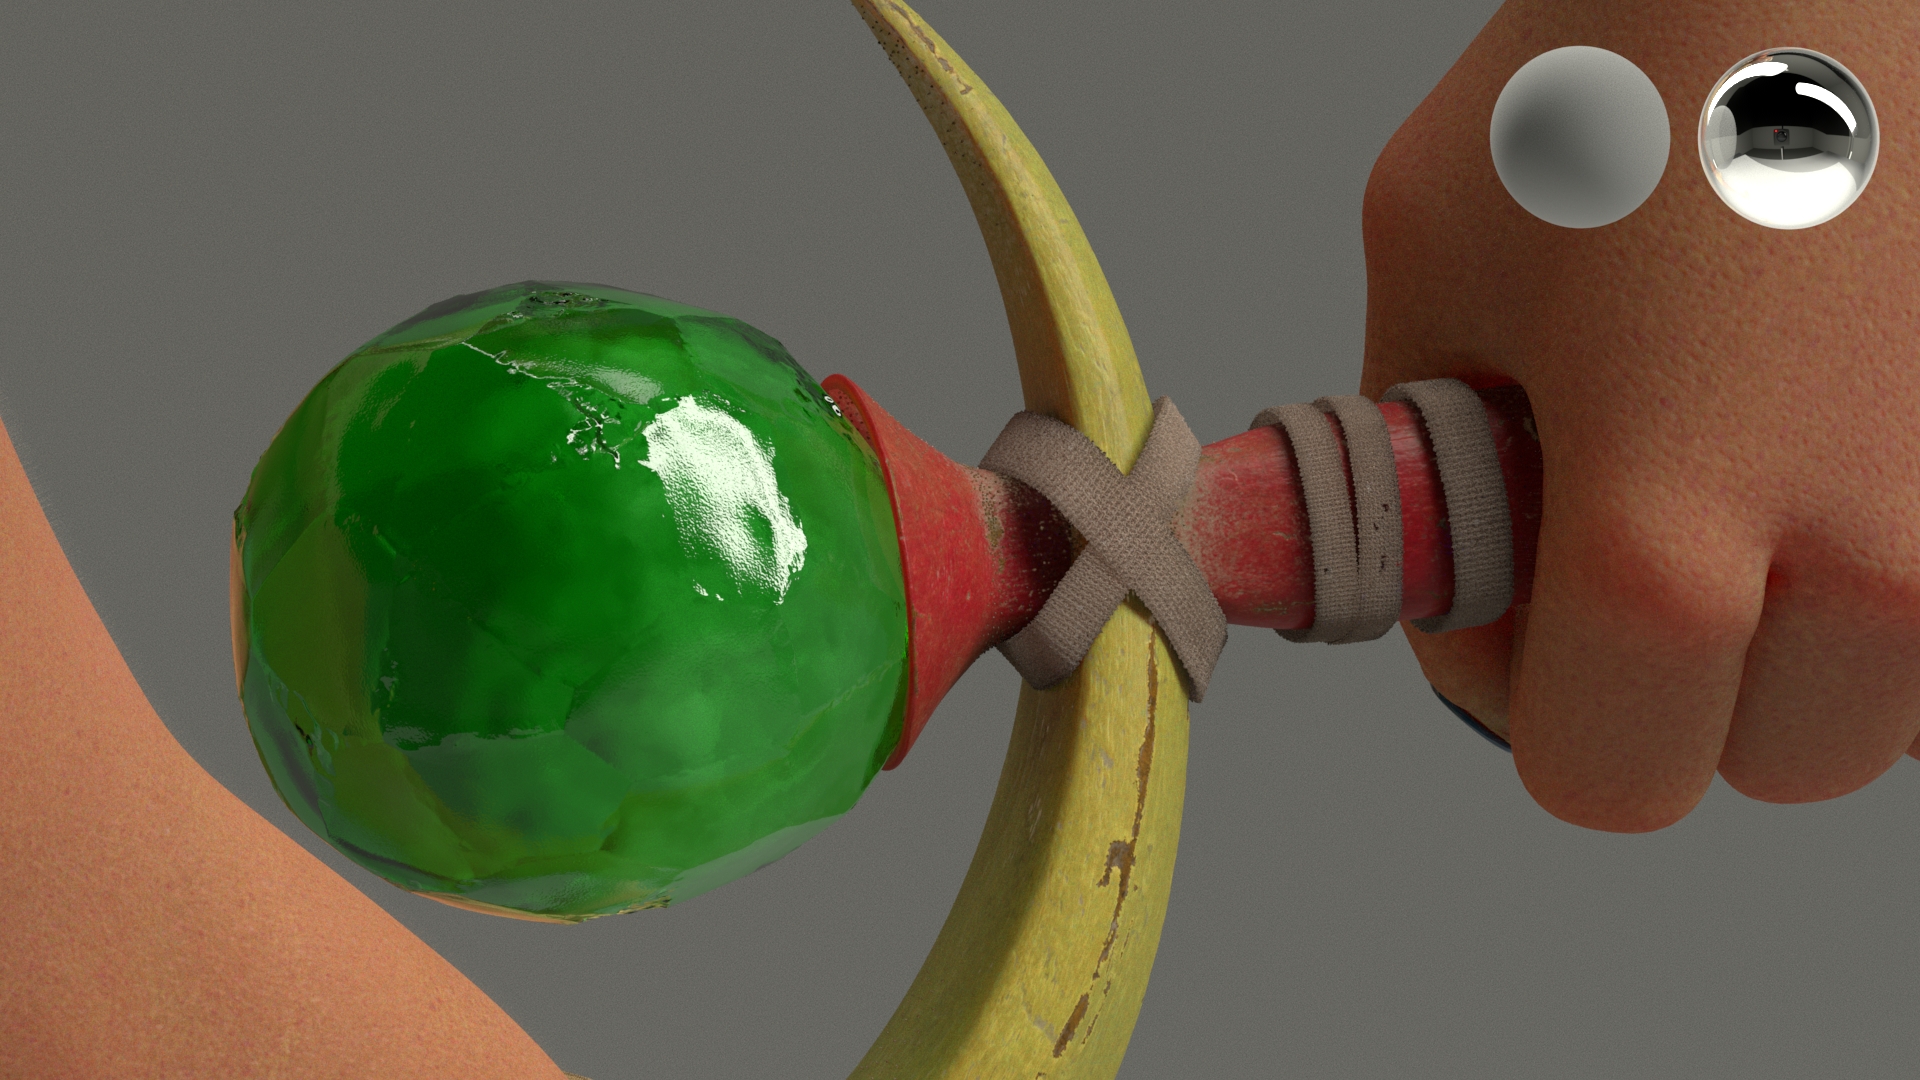
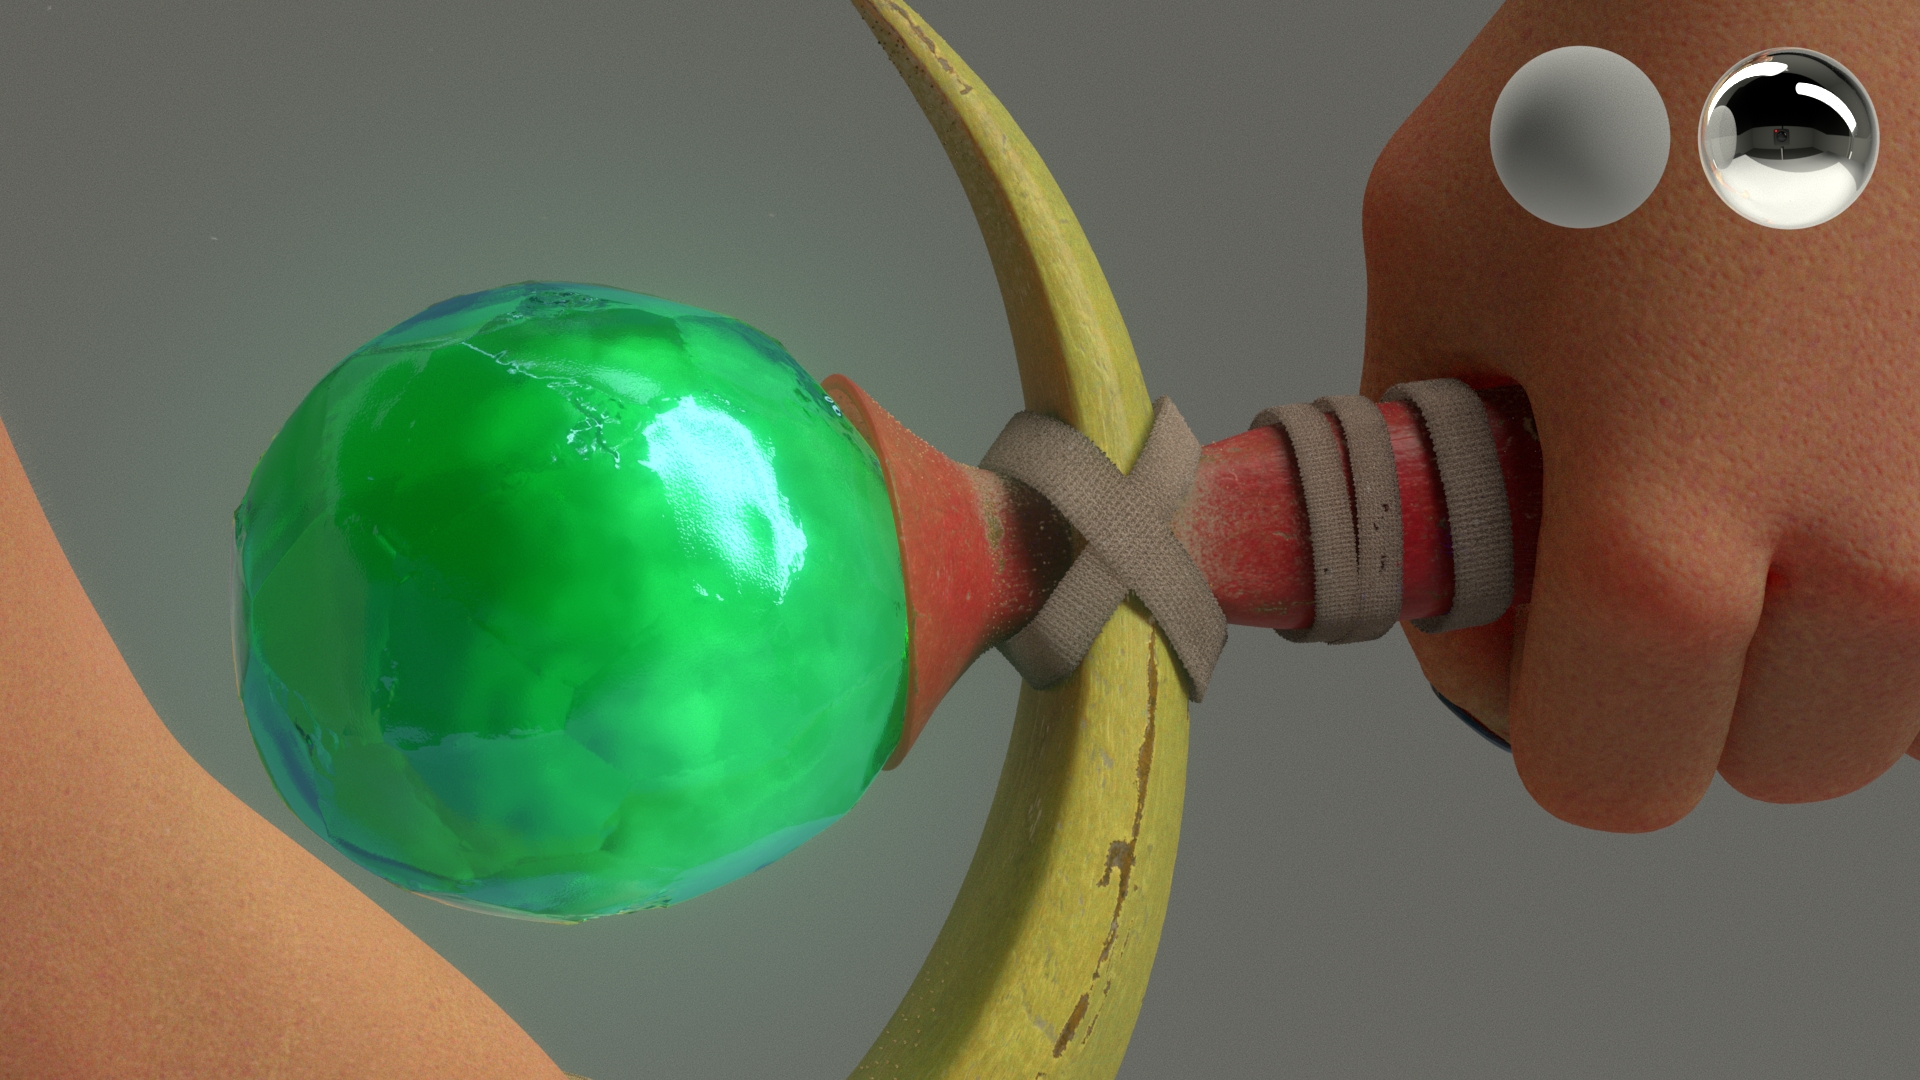
In this project, shading the crystal ball has been such a challenge for me to get the look that I want. Inspired by Anthony Pilon’s crystal shader, and also geodes as a reference, I ended up achieving this look, which I am pretty satisfied for it. Below I put in the shader network and the process on creating the volume shader as well.


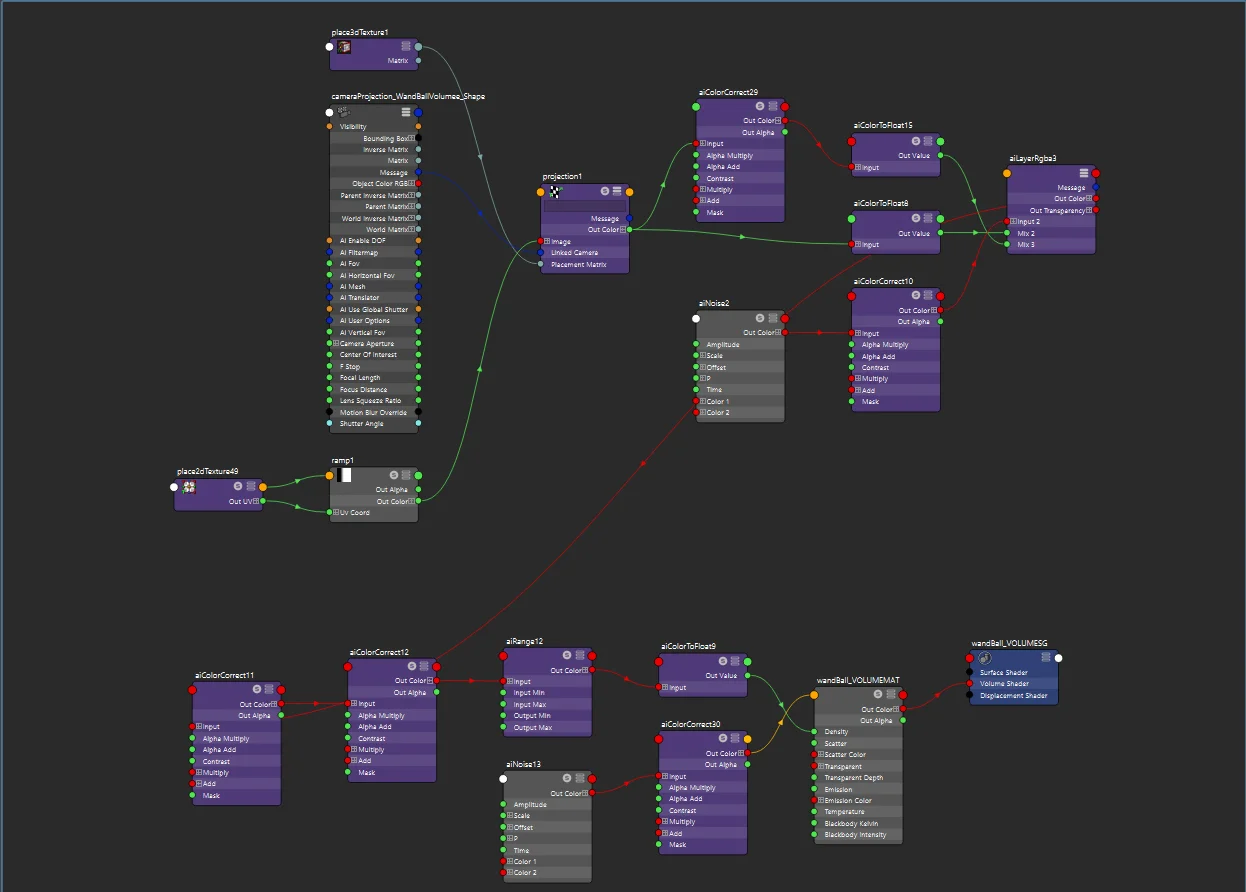
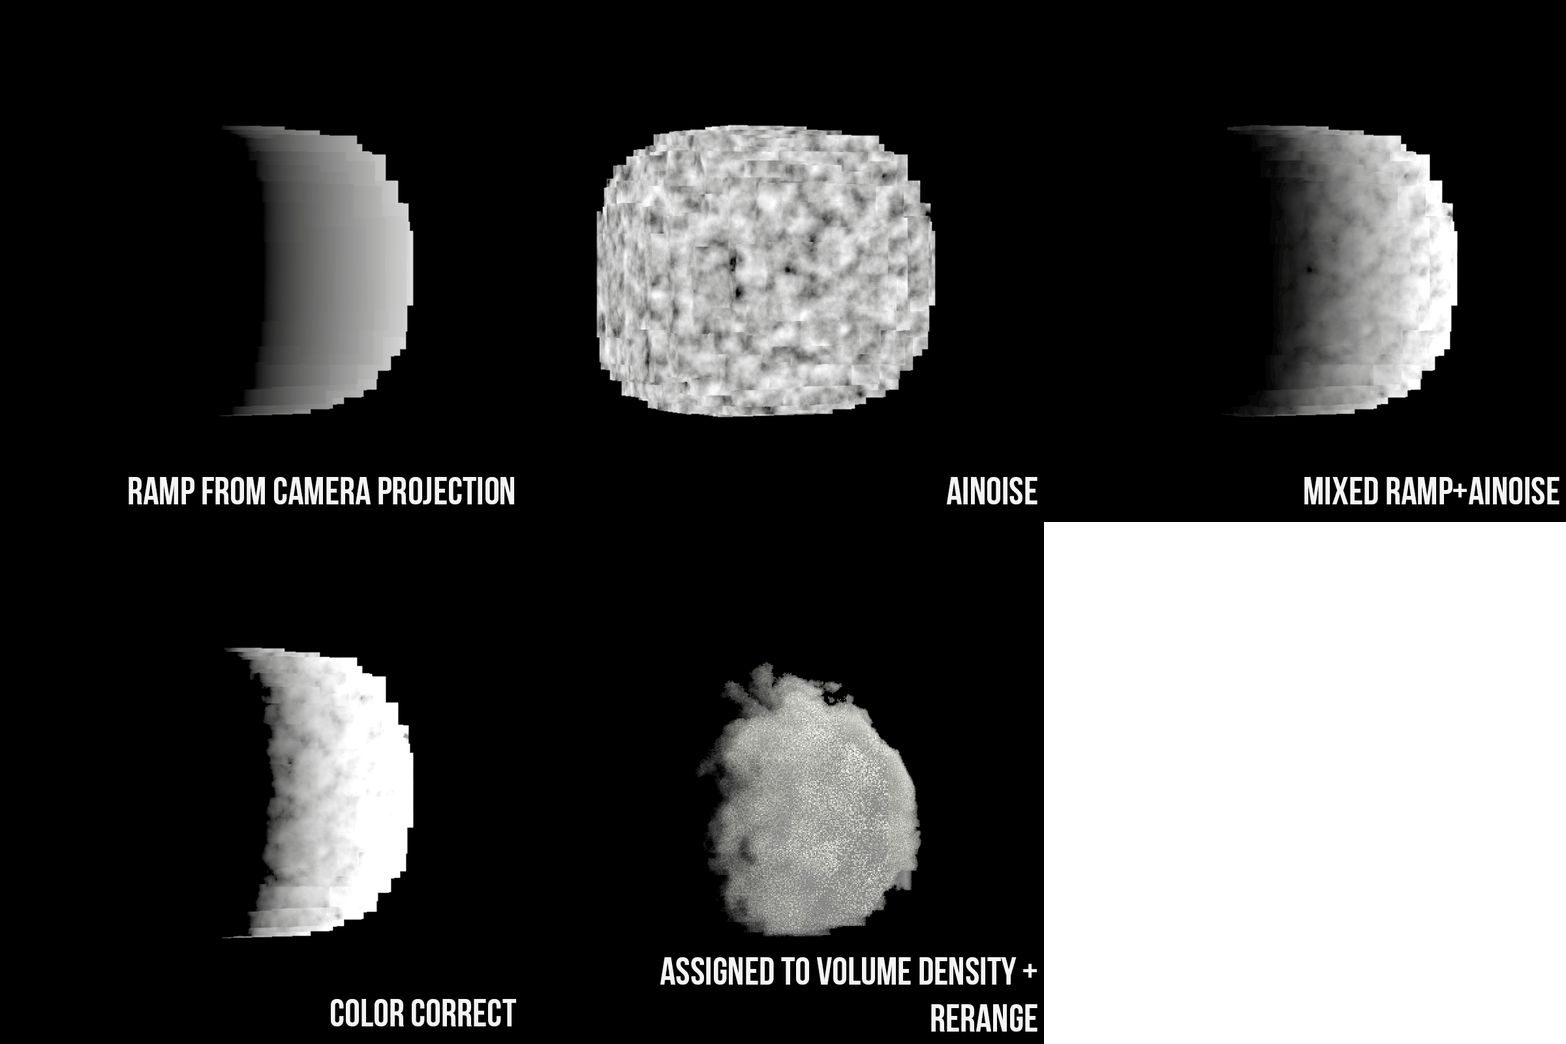
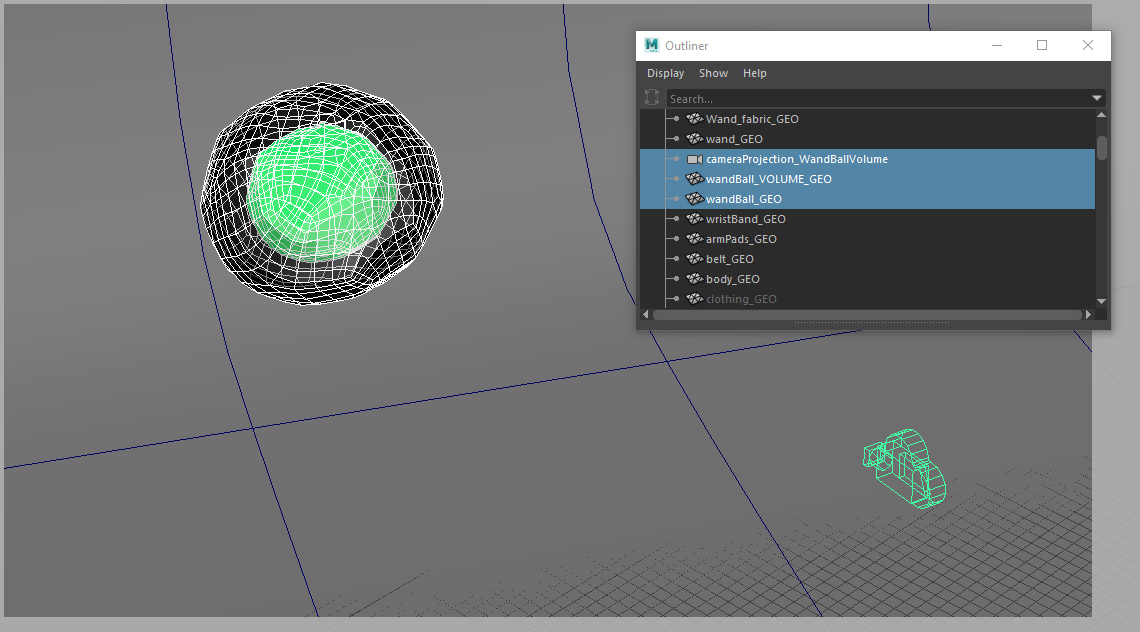
SKIN SHADING
For skin, since I knew beforehand that most of my cameras would have close ups on the face. I decided to just focus on texturing the face and applied procedural skin textures for the other sections. Below is the node that I did for skin + dry paint on it


While creating texture map for skin, I tried to follow these references that I found pretty helpful in getting a good skin look, which is shown below:
PROCEDURAL FABRIC SHADING
I attempted to do procedural shading method for objects that the UV had been laid out straight across V tiles. Having this procedural shading gives you advantage which you can increase the tile as many as you want without losing resolution. Shown in the image below along with a graph of the procedural fabric that I made, which utilizes several noises and color correction. I also added in an aiUserDataColor so I can place different color on objects by adding specific attributes that has been set up into it.


GROOMING
All of the grooming was done in xgen, and in this project I separated my grooming into 3 section: cloth hair, and facial features.
CLOTH
For cloth, similar to the method that I did to my shoe project back then, I separated my groom into 3 different parts:
normal fur - normal short strands from fabric .
big fur - strands that comes out from part of the fabric that get ripped, shown below the area I put this big fur to.
fur strands - long strands that is part of the design.


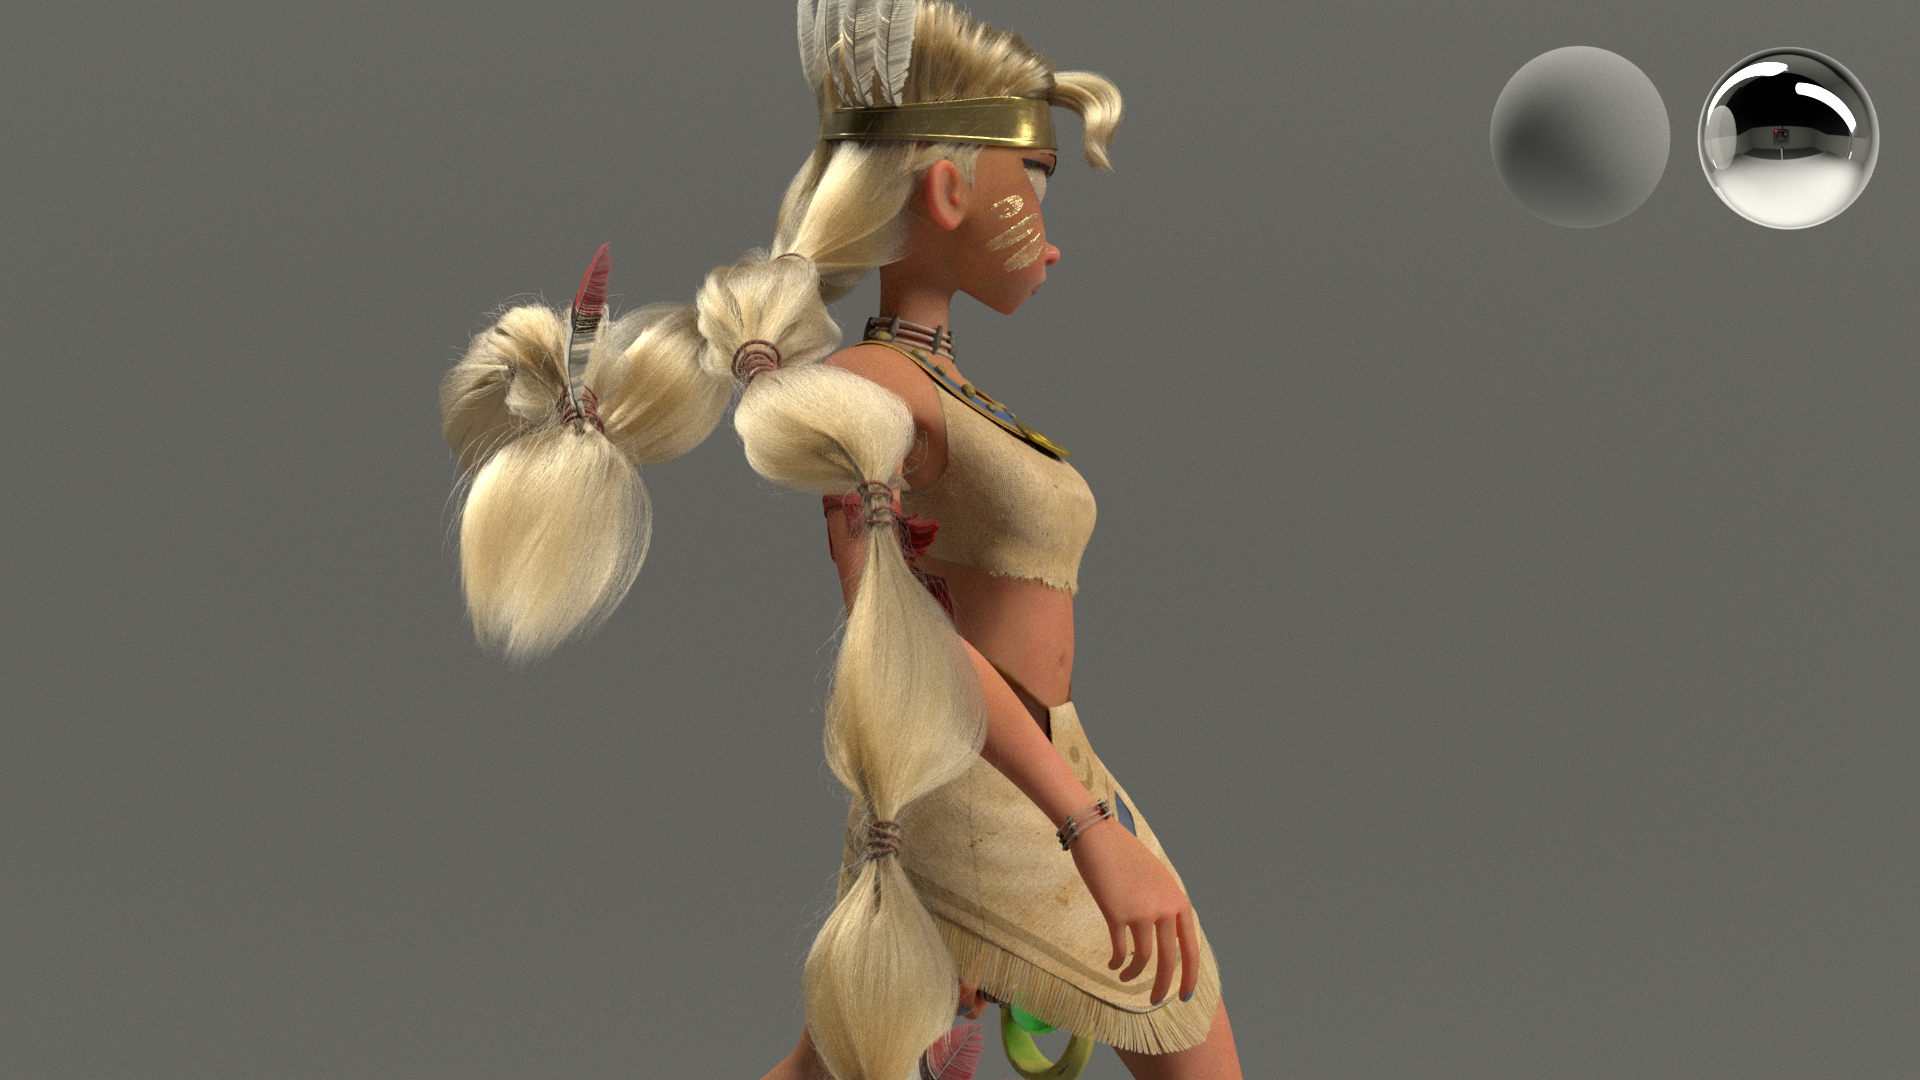
HAIR
For Hair, I separated it into 3 parts :
normal hair (with bangs)
fill hair - has more width with purpose to fill up empty space from normal hair.
thin hair near ear area.
*I do recommend to try start your grooming with small amount of curves first, and then gradually increasing them if you need to, I did a mistake which the hair curves ended up pretty tricky to be tweaked because I had so many of them from start.


FACIAL HAIR
For facial hair, I separated it into 3 parts : eyebrows, brows, peachFuzz.


PROGRESSION
Below is collection of images showing the progress on making this project, enjoy !


